Introduction
KSL may send you a remote KVM device so that we can control your computer or other system for remote troubleshooting and/or configuration. This guide is intended to walk you through connecting the KVM device to your hardware.
Package Contents
Inside the KVM package that we've shipped you, you should find the following items:
KVM device
Power cable (USB-C to USB-A) with power supply (USB-A port)
USB connector cable (USB-C to USB-C)
USB connector adapter (female USB-C to male USB-A)
HDMI cable
Ethernet cable
Reference Pictures
Locations on these pictures are referenced in the steps below.
Screens
Main Screen
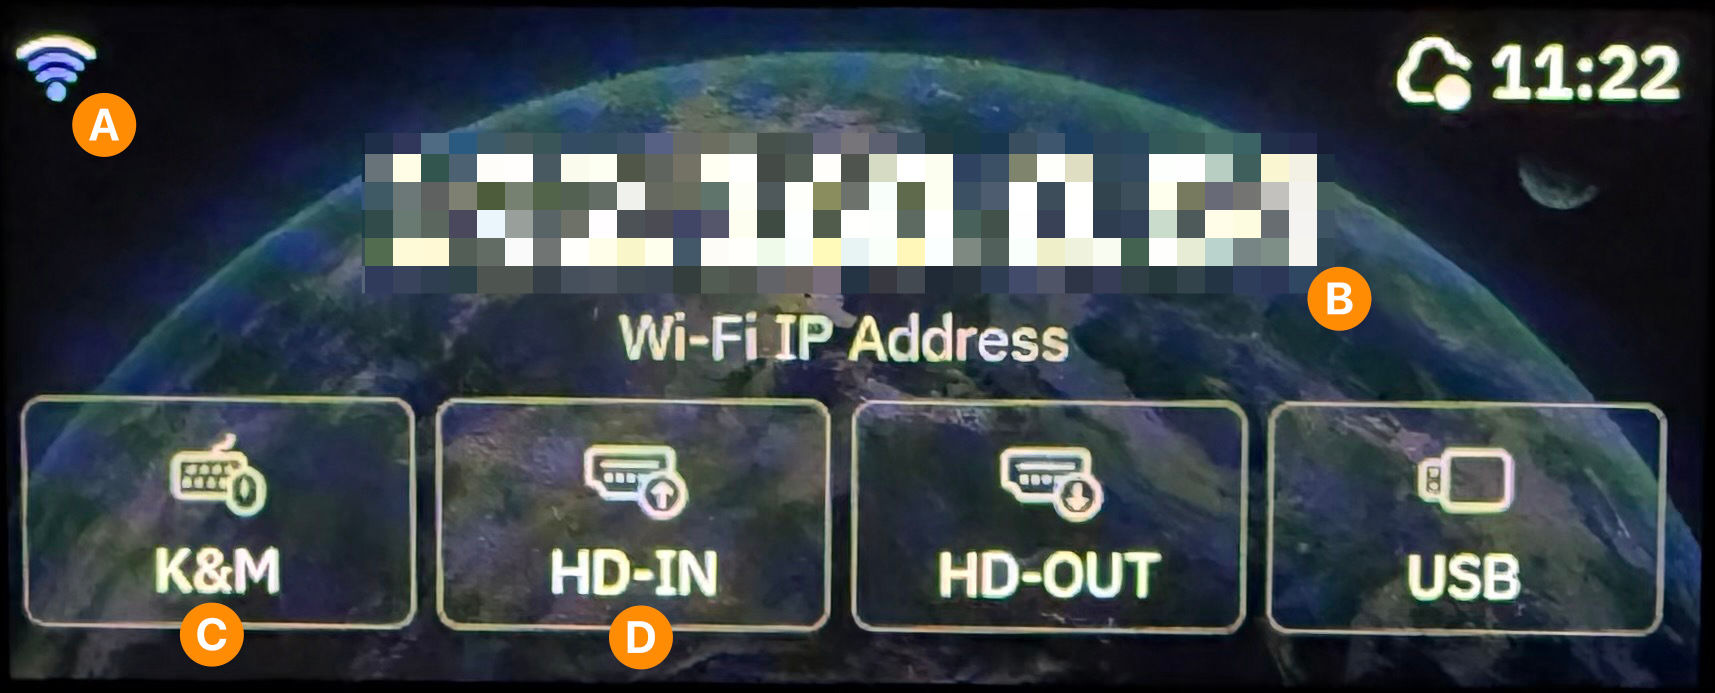
A. Network connection indicator
B. Local IP address
C. Keyboard & Mouse connection indicator
D. Display Input connection indicator
Settings Screen

Ports
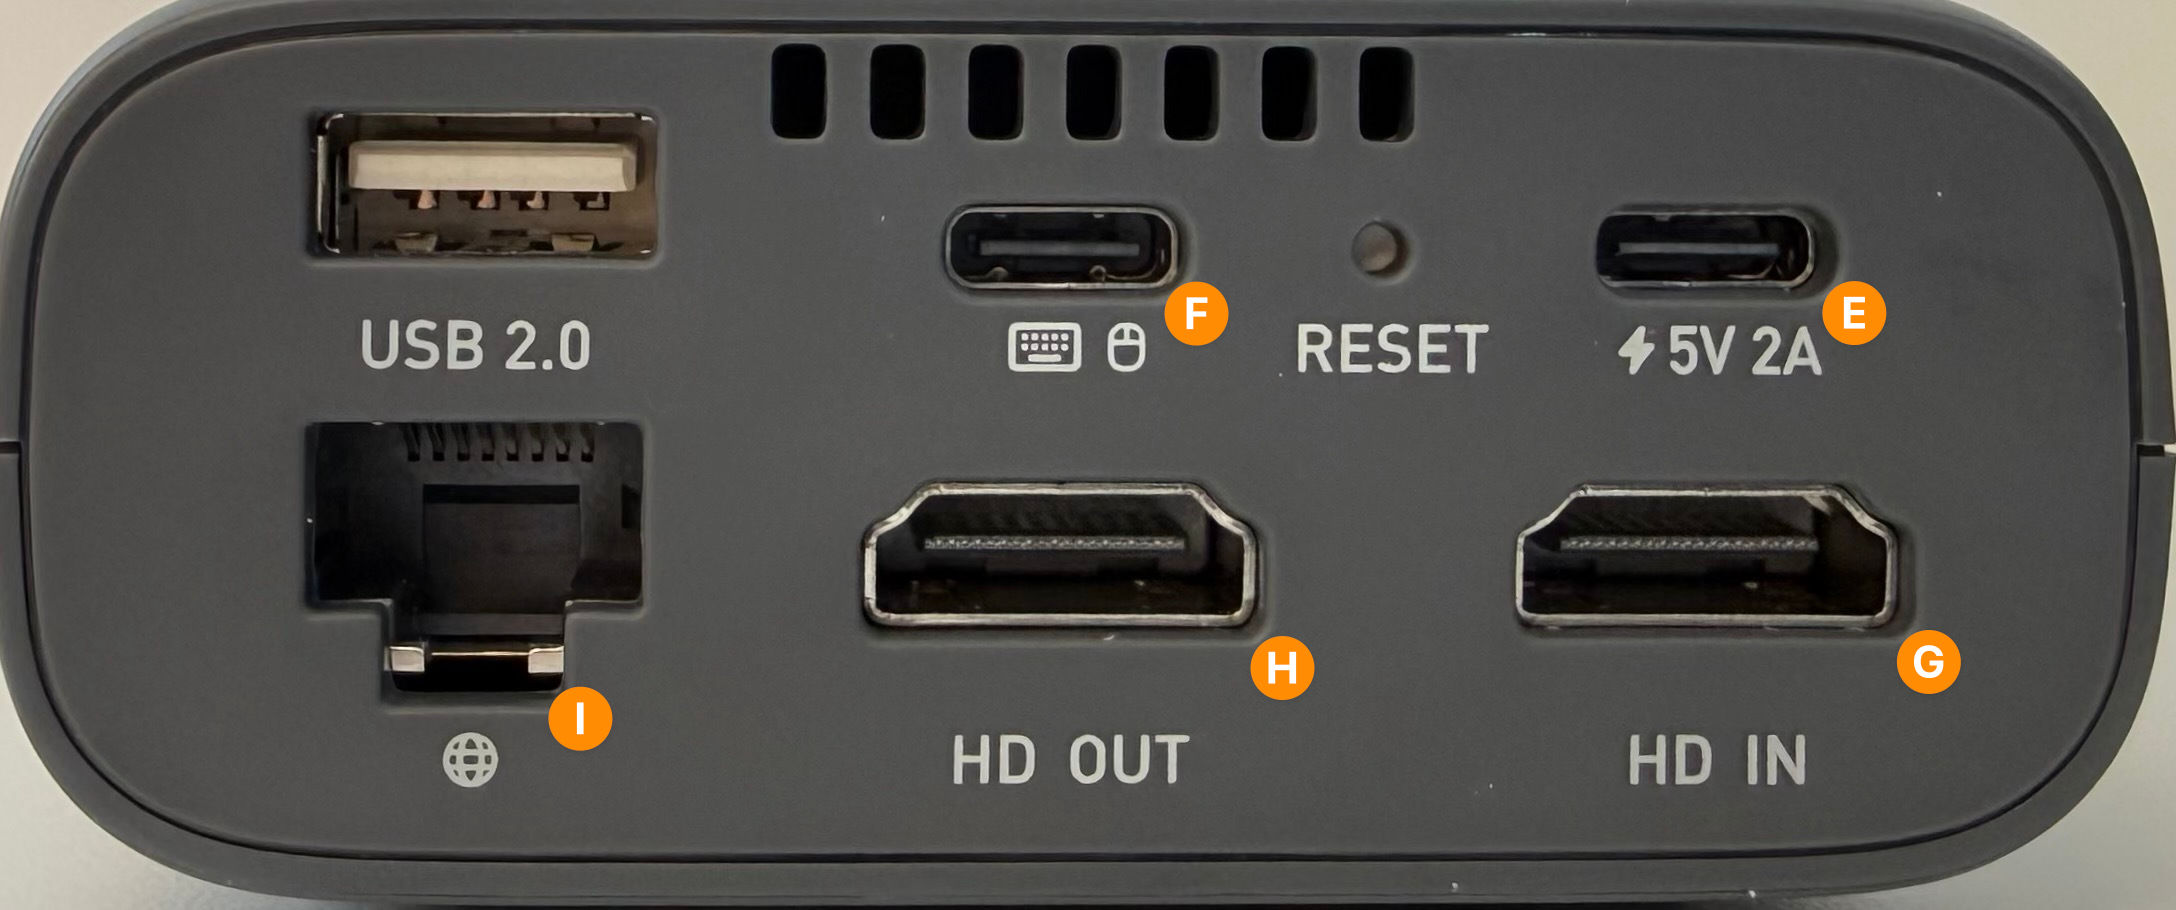
E. Power input
F. Keyboard & mouse connection
G. HDMI display input
H. HDMI display output
I. Ethernet network connection
Connect KVM to Computer
Follow these steps to connect the KVM to the computer/device that is being controlled. For conciseness, the computer/device that is being controlled is referred to as computer throughout these steps.
Plug the KVM in to power using the power cable (USB-C to USB-A) and power supply. Connect to the power port (E) of the KVM.
Connect the USB connector cable (USB-C to USB-C) from a USB port on the computer to the keyboard/mouse port (F) of the KVM. Once connected properly, the K&M icon (C) on the main screen will turn blue.
TIP: If the computer does not have a built-in USB-C port, you can use the included USB connector adapter (female USB-C to male USB-A) to connect to a USB-A port of the computer.Connect the HDMI cable from the HDMI output of the computer to the HD IN port (G) of the KVM. Once connected properly, the HD-IN icon (D) on the main screen will turn blue.
If the computer does not have a built-in display and you wish to use your existing monitor, connect another HDMI cable (not included) from the HD OUT port (H) of the KVM to your monitor.
Connect KVM to Internet
You can connect the KVM to the internet using either a wired ethernet connection or a wireless WiFi connection.
Connect via wired connection
Plug an ethernet cable into the ethernet port (I) on the KVM. Connect the ethernet cable to your wireless router, network switch, or building port that has an available internet connection.
On the main screen of the KVM, the network icon (A) will change to an ethernet port, showing that it is connected to a wired network. You will see an IP address (B) listed, showing the KVM is connected to your network.
Connect via wireless connection
-
Using the touchscreen on the KVM, swipe left on the main screen to access the Settings page.
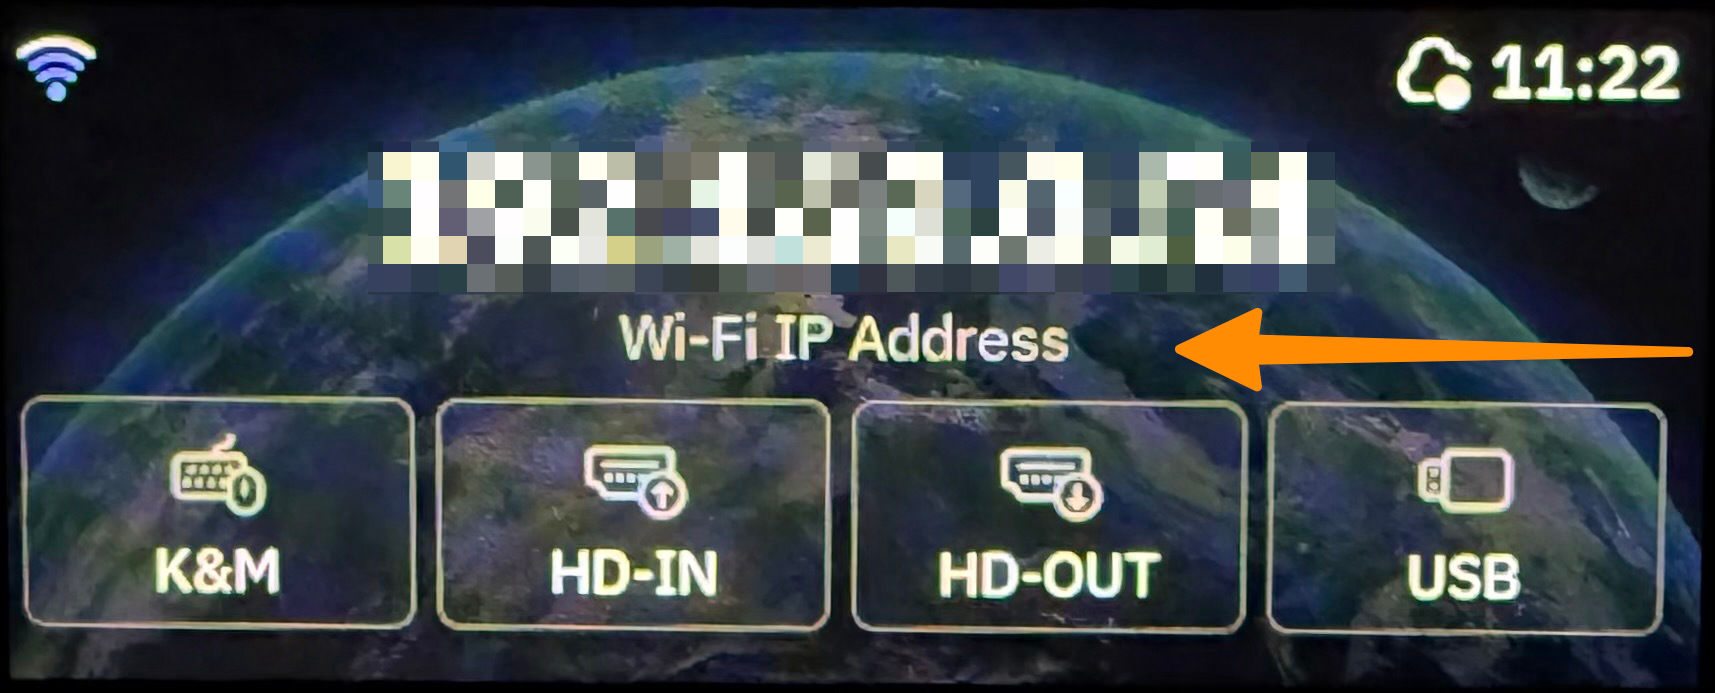
Swipe left on the main screen -
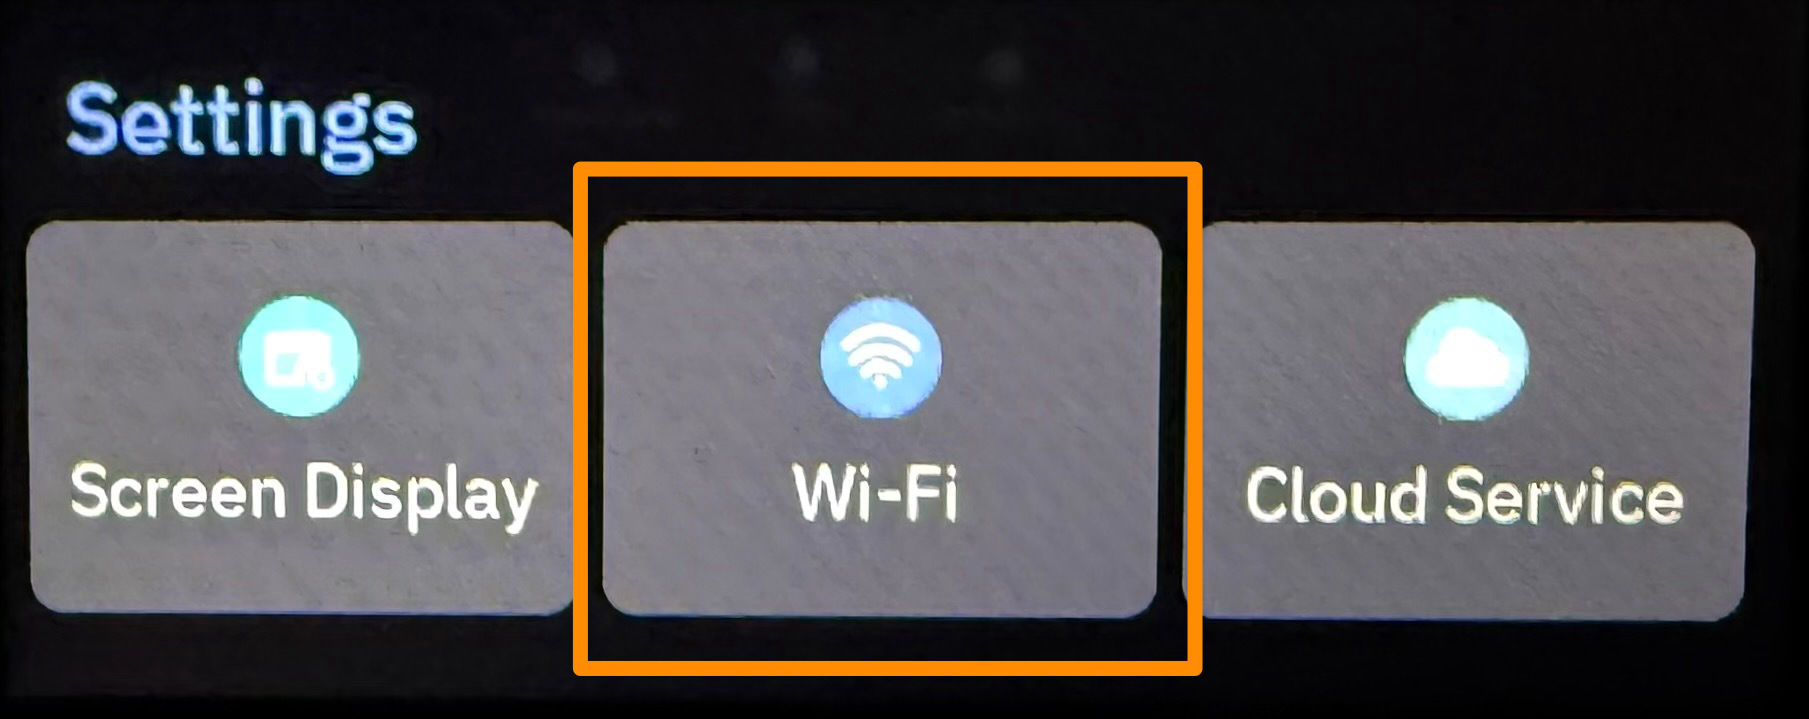
On the settings page, tap the Wi-Fi button.
Select the Wi-Fi settings On the Wi-Fi Settings page, ensure that the Wi-Fi toggle is turned on (to the right). Tap on Connect Wi-Fi.
-
Select the Wi-Fi network you wish to connect to.
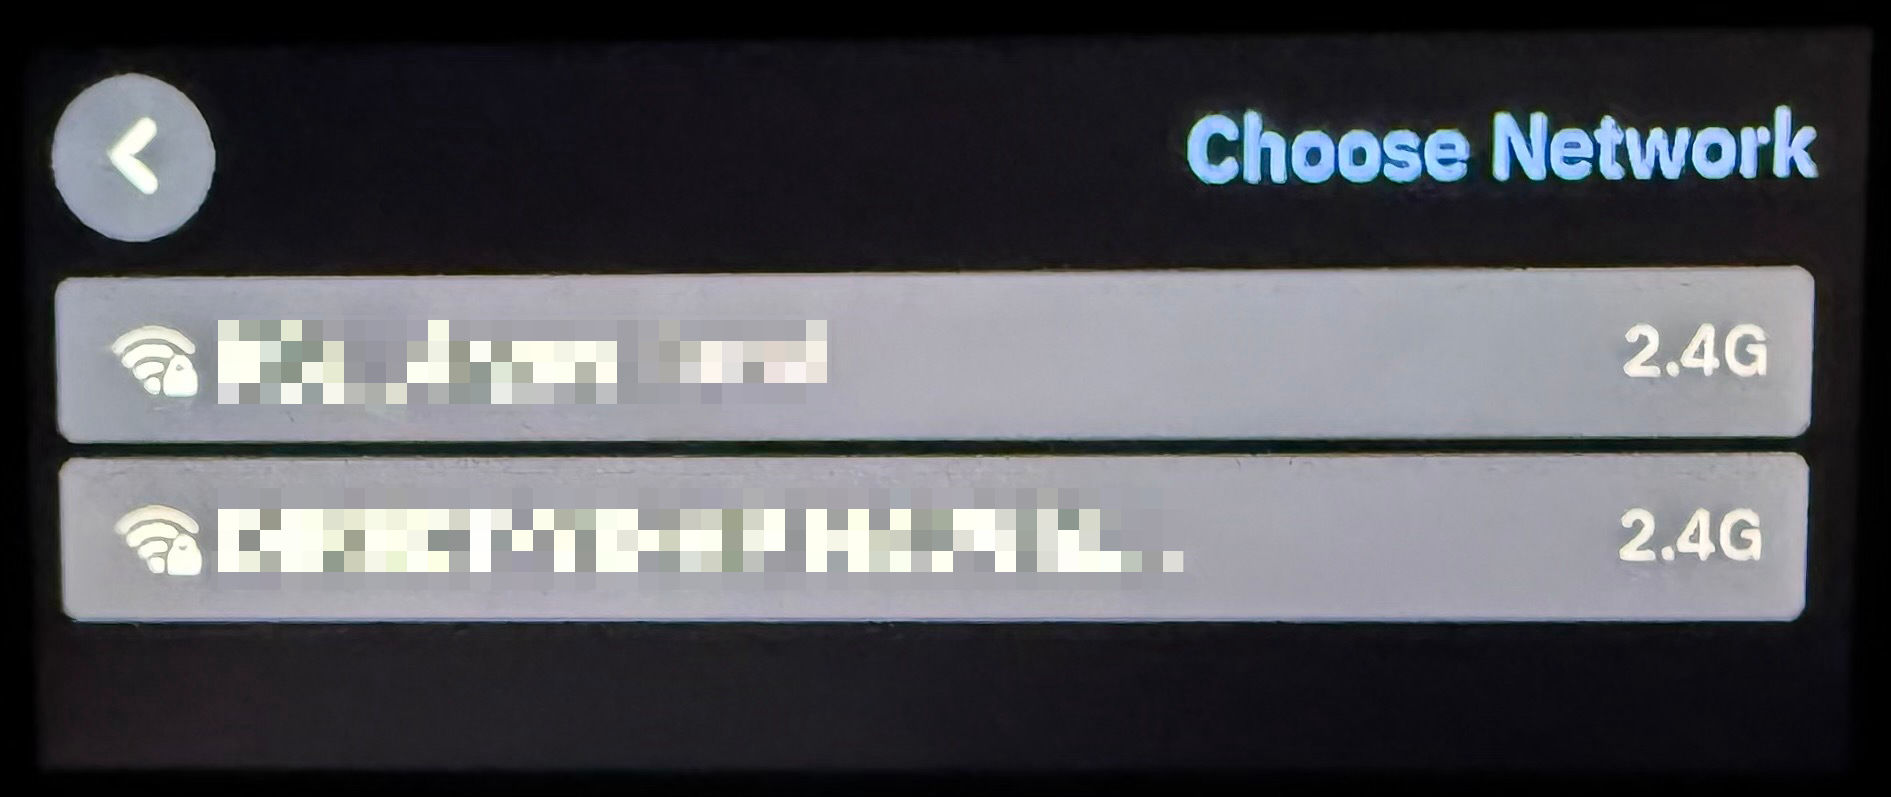
Choose the Wi-Fi network On the main screen of the KVM, the network icon (A) will change to an wireless icon, showing that it is connected to a wireless network, and the signal strength of the connection. You will see an IP address (B) listed, showing the KVM is connected to your network.
Troubleshooting
-
Problem: The KVM is not automatically obtaining an IP address when I connect it to a network
Answer: By default, the KVM uses DHCP to obtain an IP address when connected to a wired or wireless network.
Workaround: If DHCP is not available on the network you are trying to connect to, a workaround is available for wired connections only. Please email [email protected] for more information.
-
Problem: The KVM cannot connect to my WiFi that requires a login
Answer: The KVM can connect to WPA-PSA secured WiFi network (that you connect to with a standard password). At this time, the KVM cannot connect to WiFi networks that use enterprise security (you have to enter a username and password to connect) or a captive portal (once you connect, an additional screen pops up that you have to interact with).
Workaround: Connect the KVM to the internet via a wired network connection. Or, talk to your IT department to see if they can whitelist the KVM's connection via its MAC address. The KVM MAC address can be found on the white sticker on the bottom of the unit.