Follow these instructions to reimage the TP-Link AX1800 router using the KSL configuration.
You will need a copy of the KSL config files (available to technicians only). If you need a copy of these files, please get in touch.
Power up the router and connect your computer with a network cable to one of the yellow network ports on the router.
-
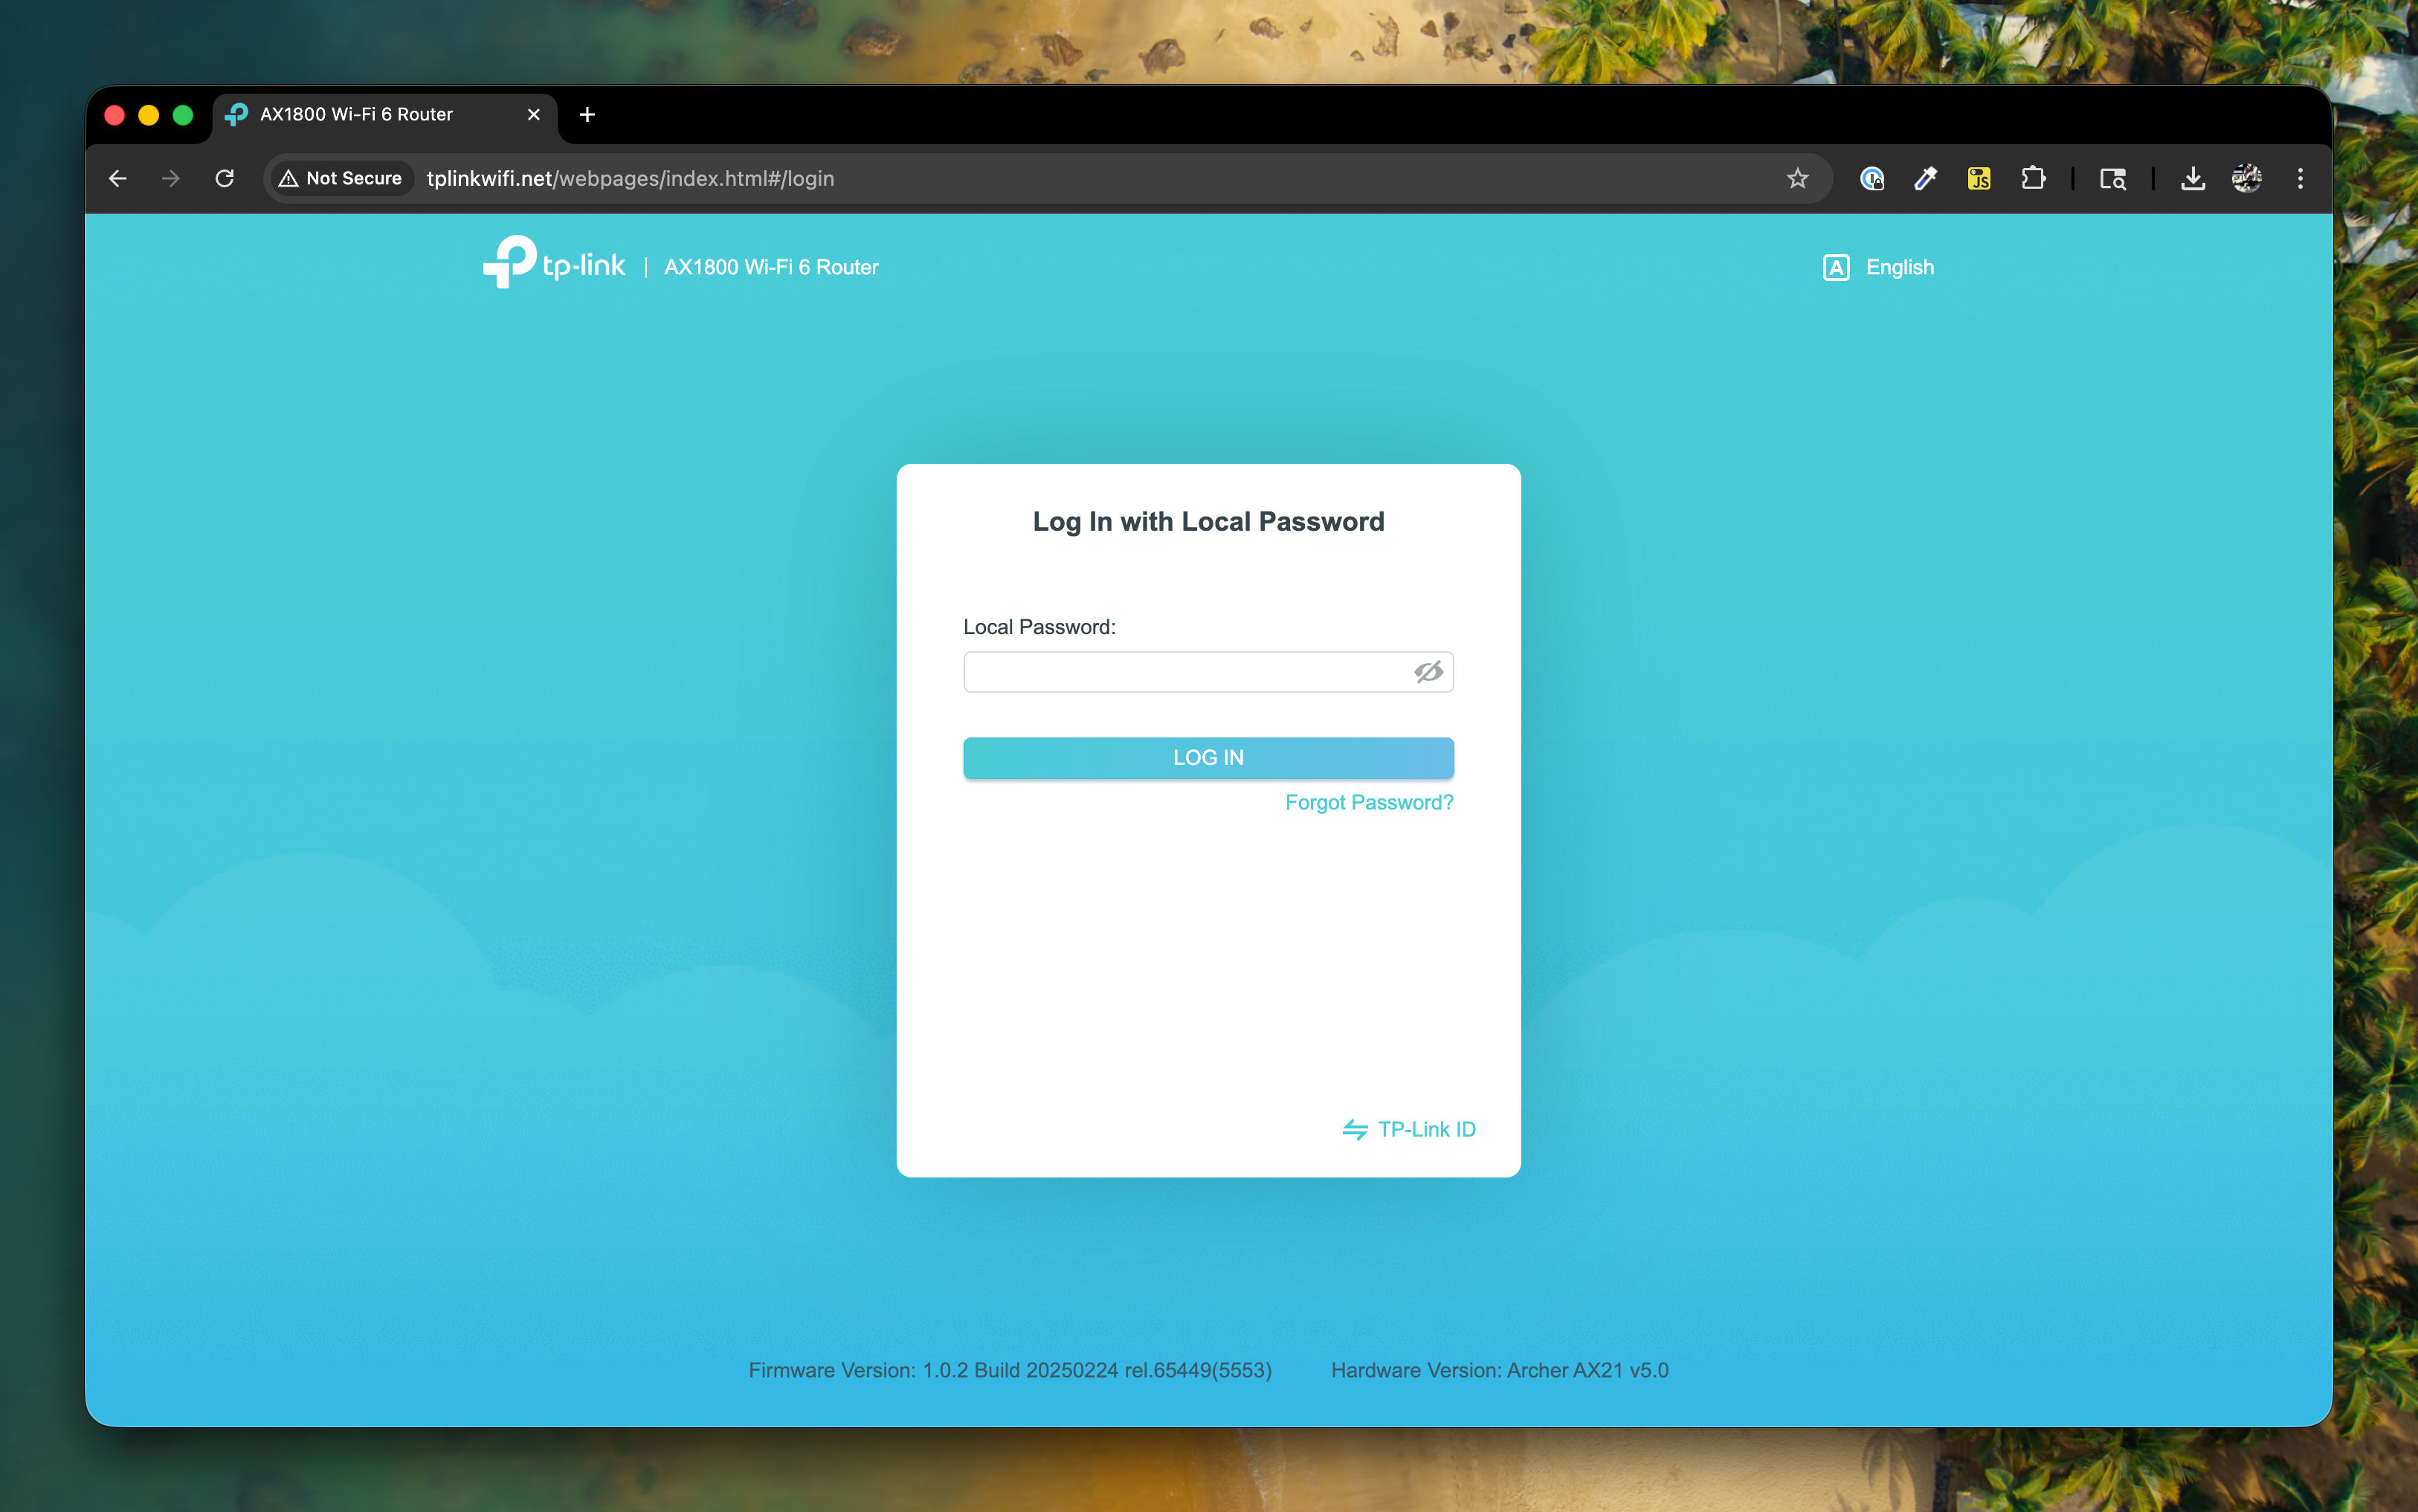
Open a web browser and navigate to
tplinkwifi.net. When the page opens, you will be prompted to create an administrator password.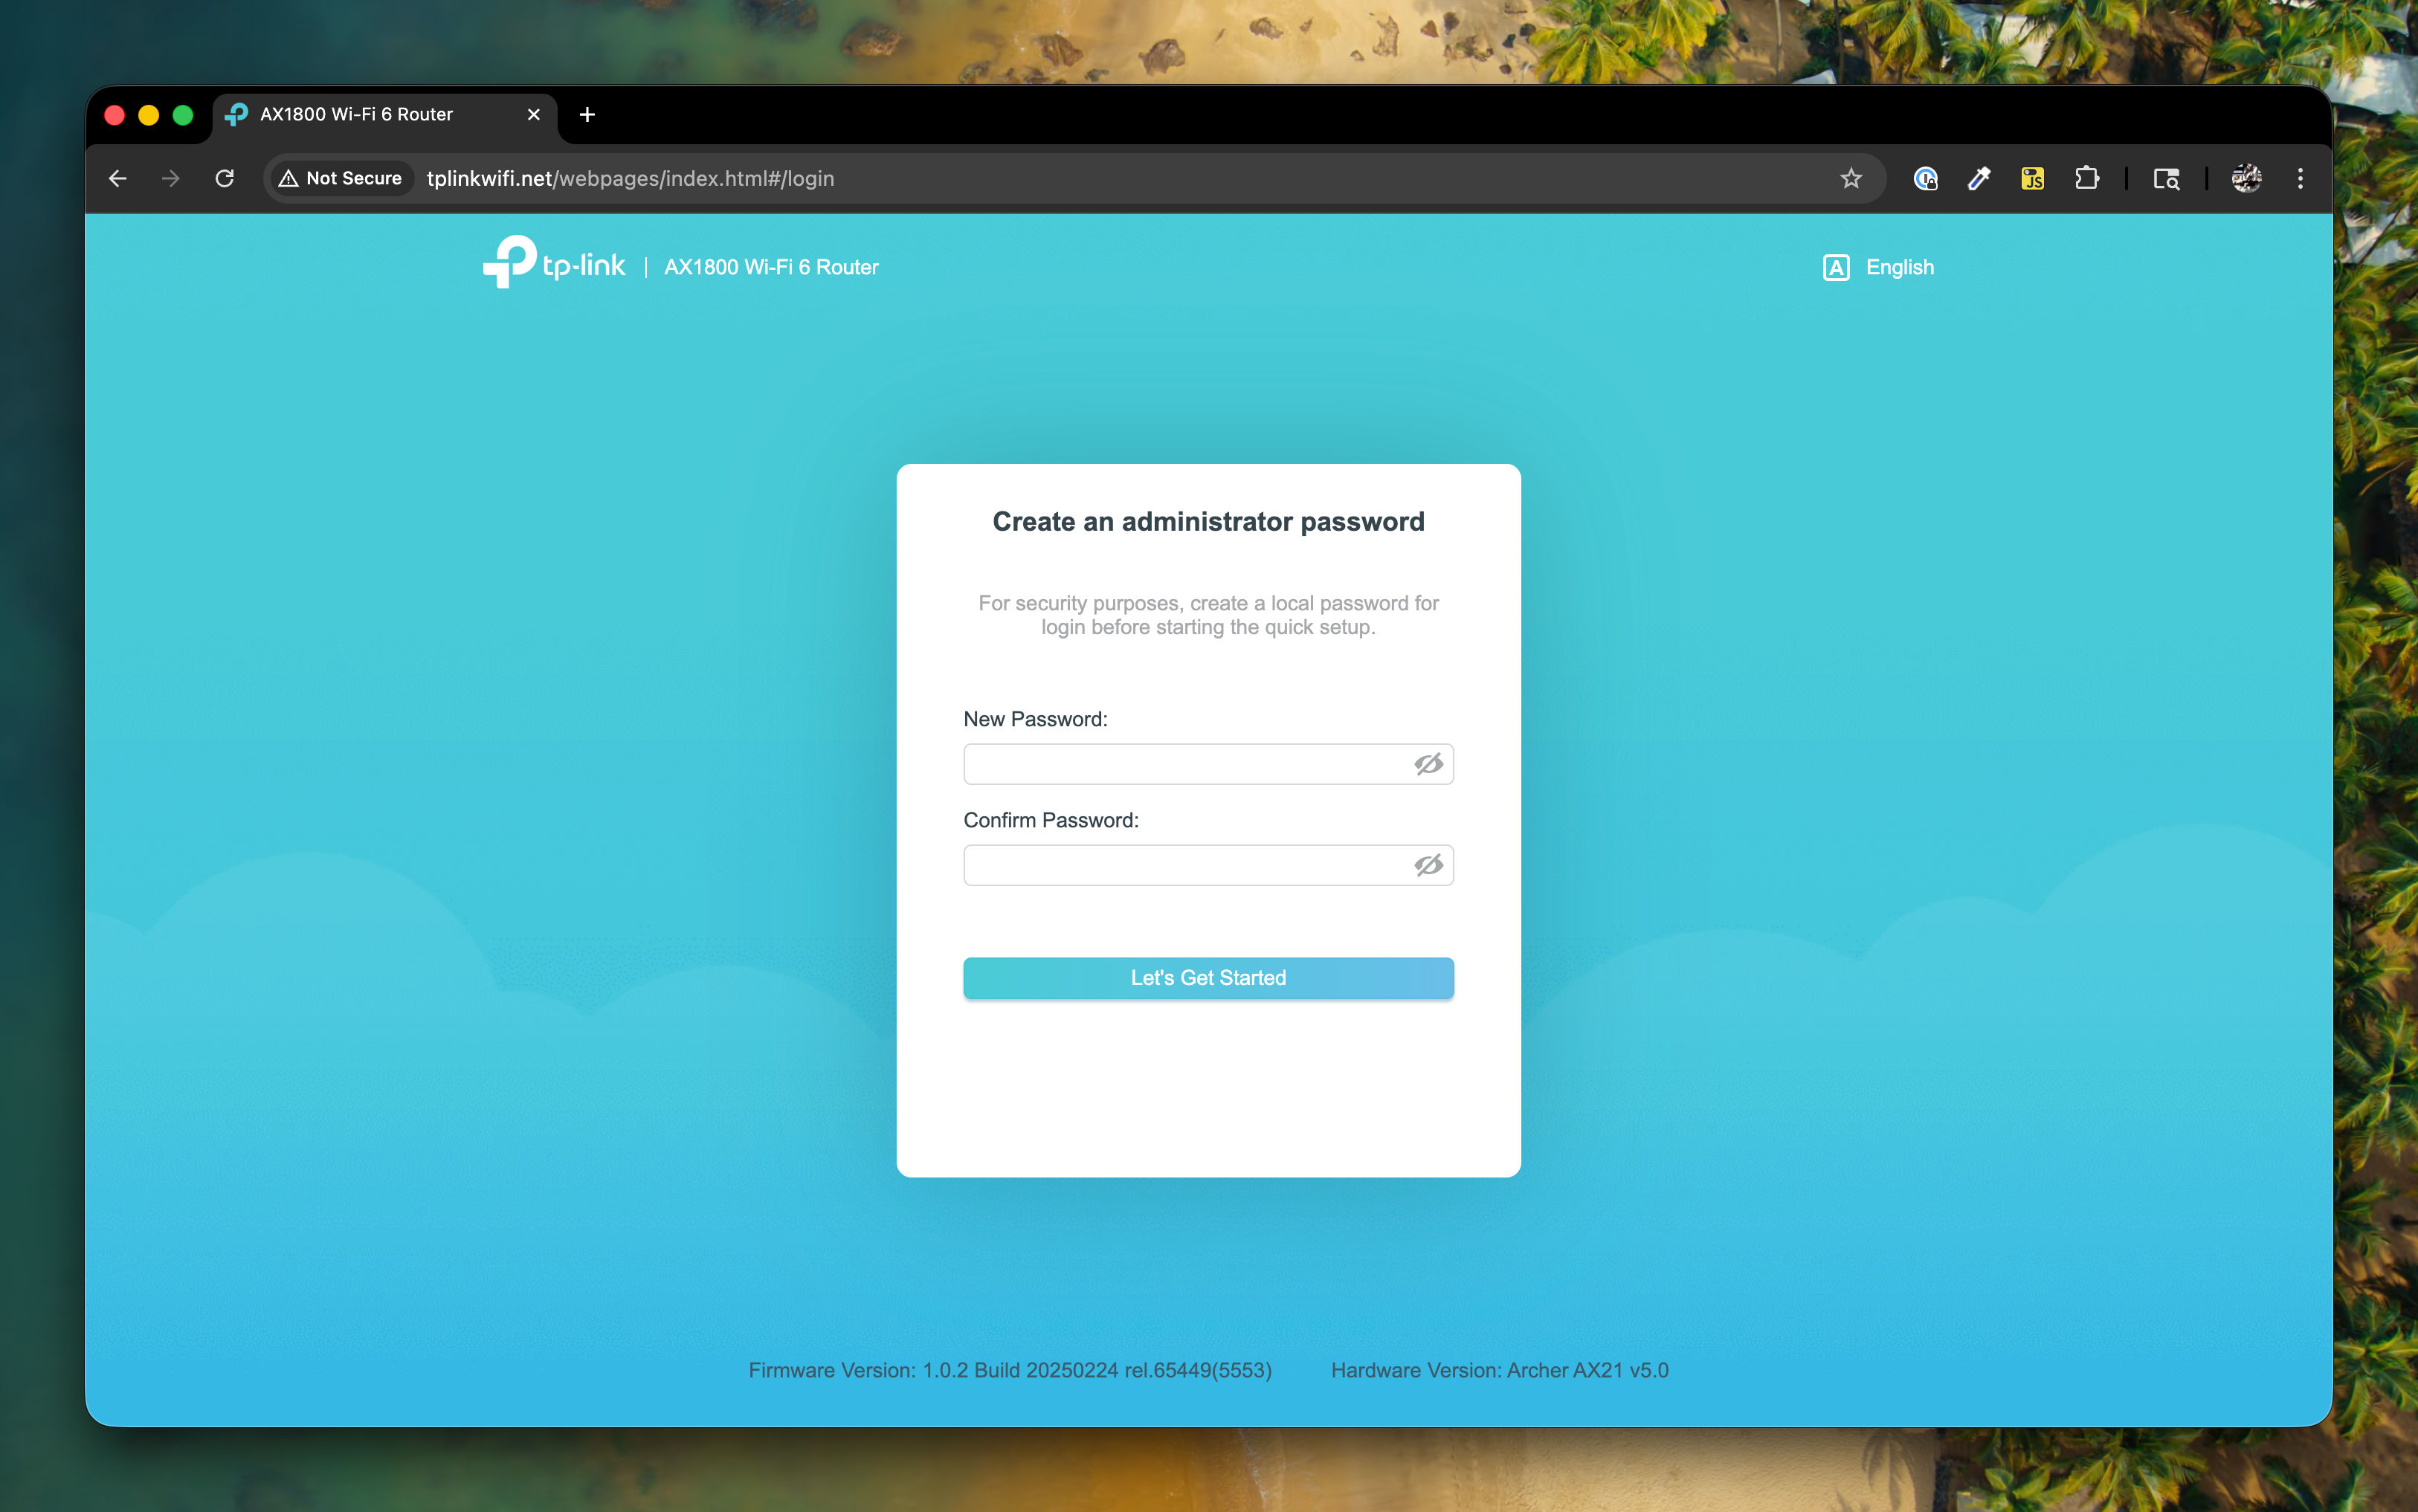
-
Set the administrator password to
tempadmin1, and confirm the temporary password that you are setting.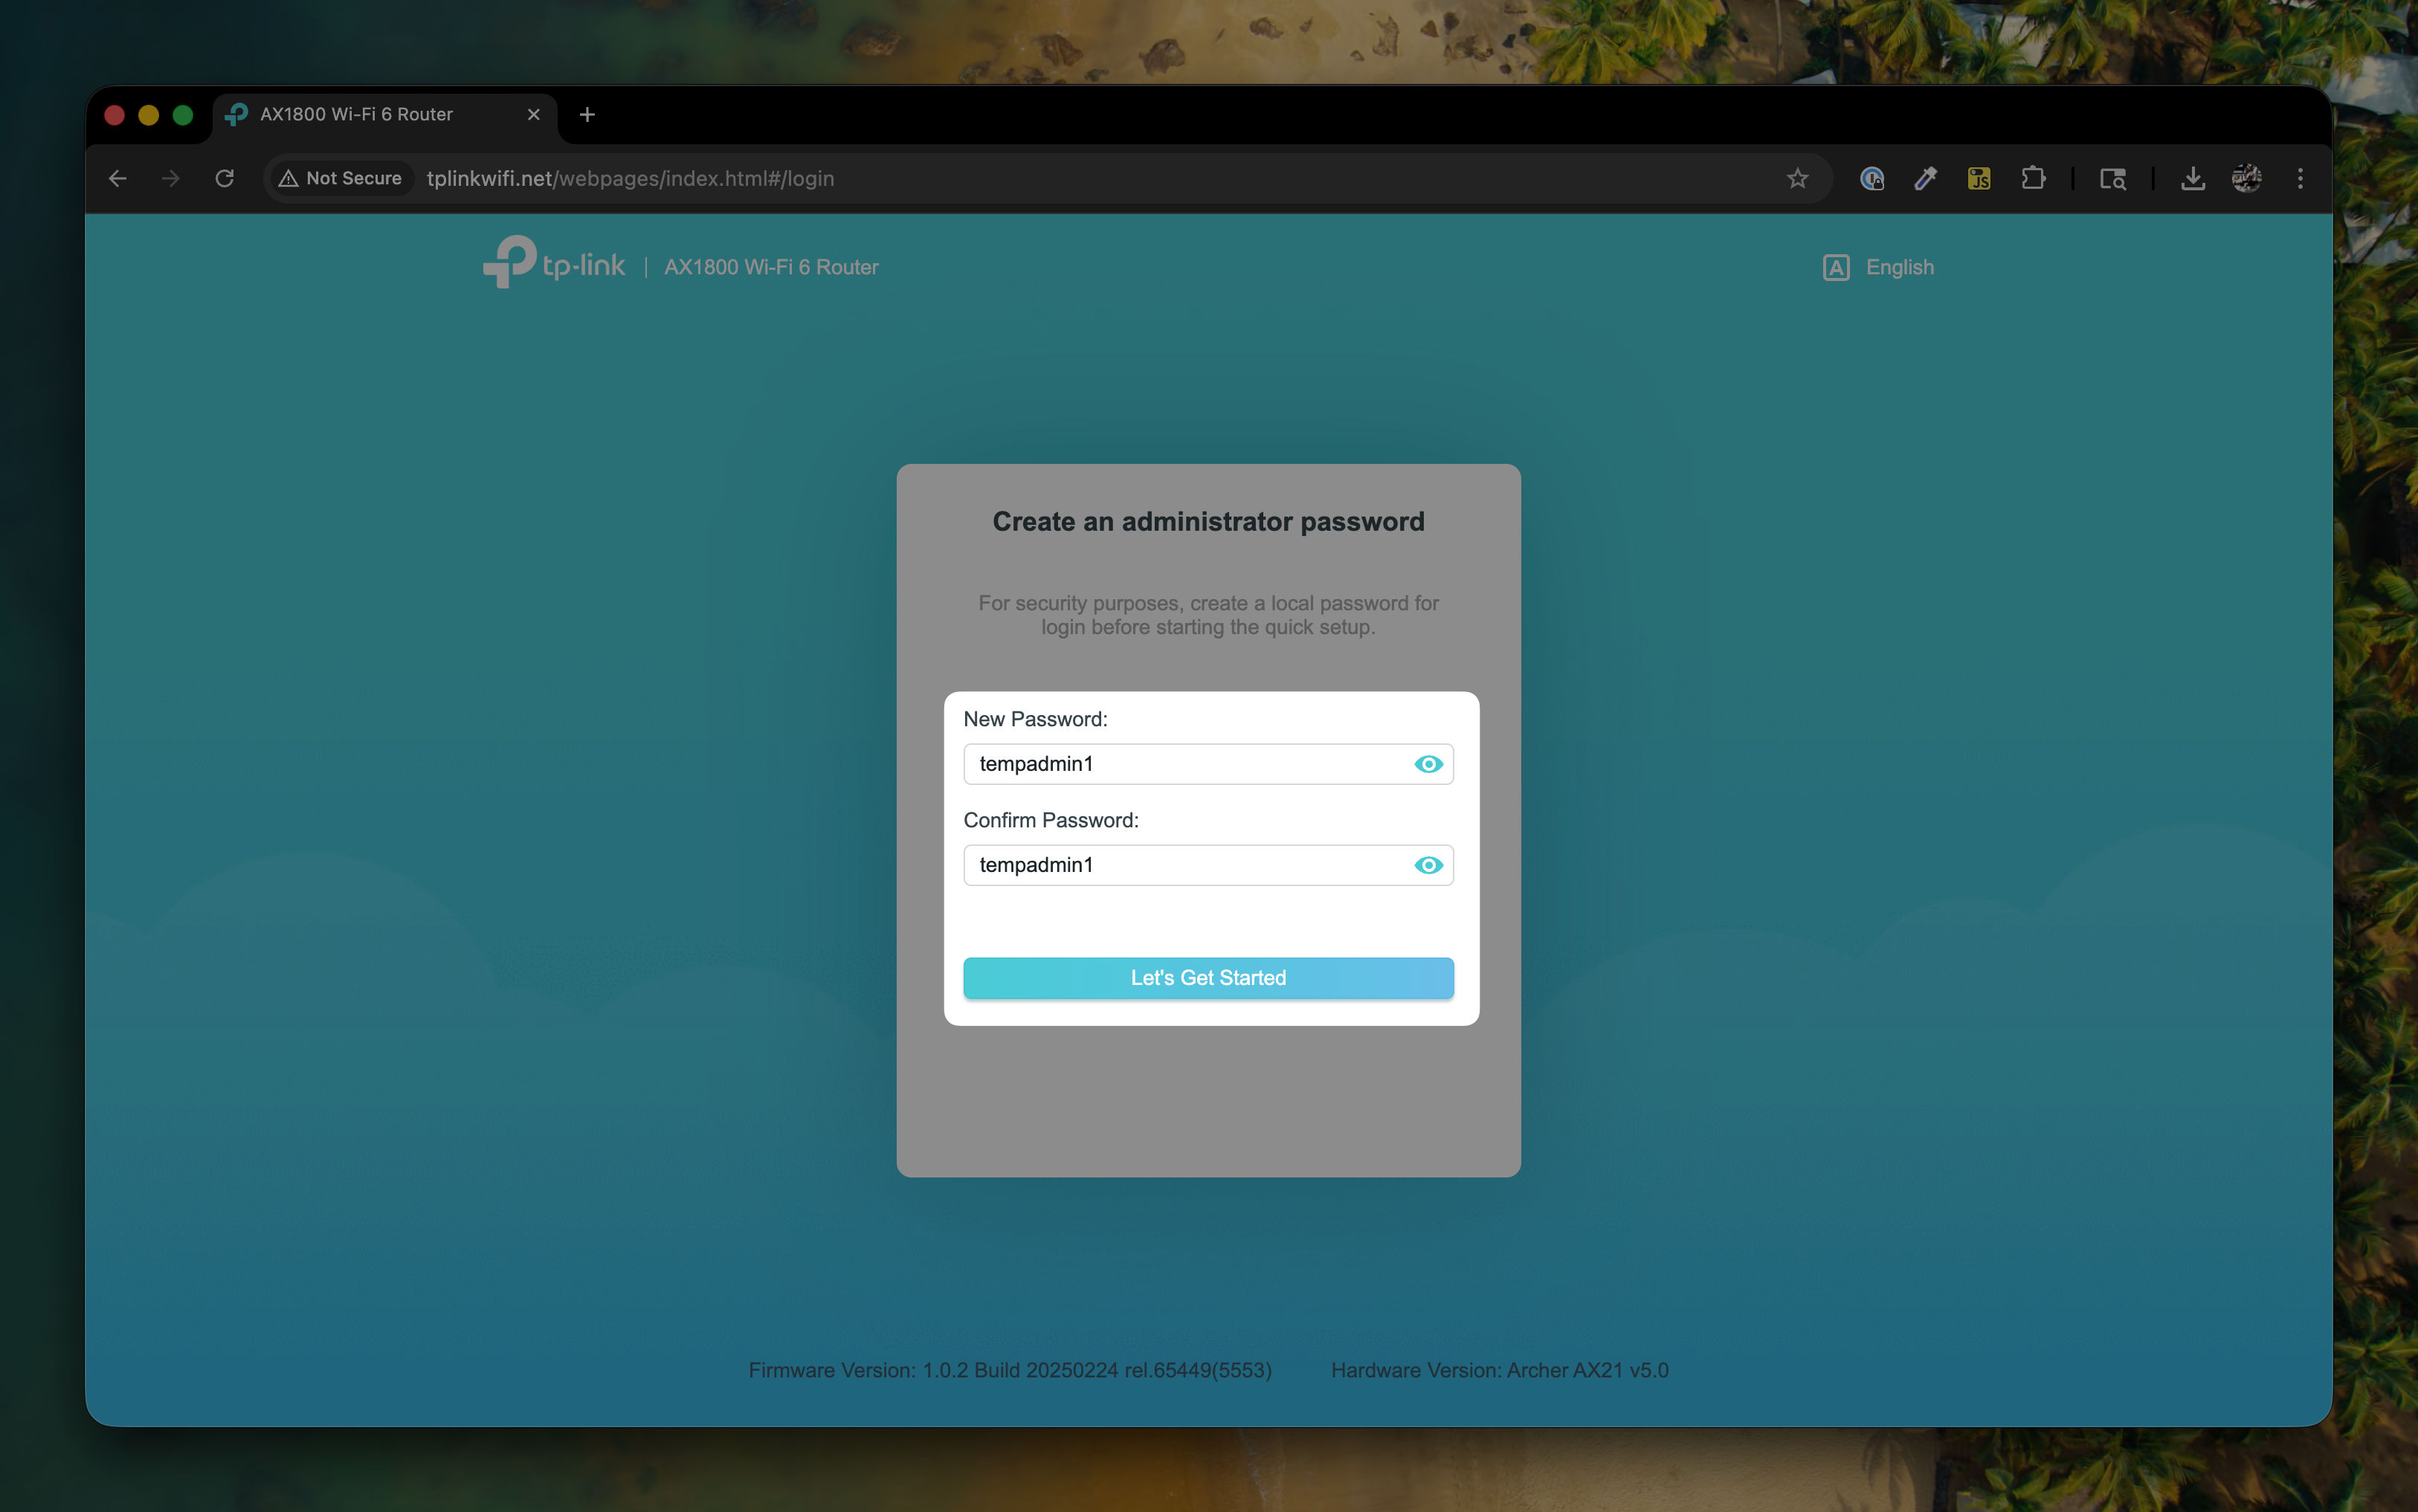
-
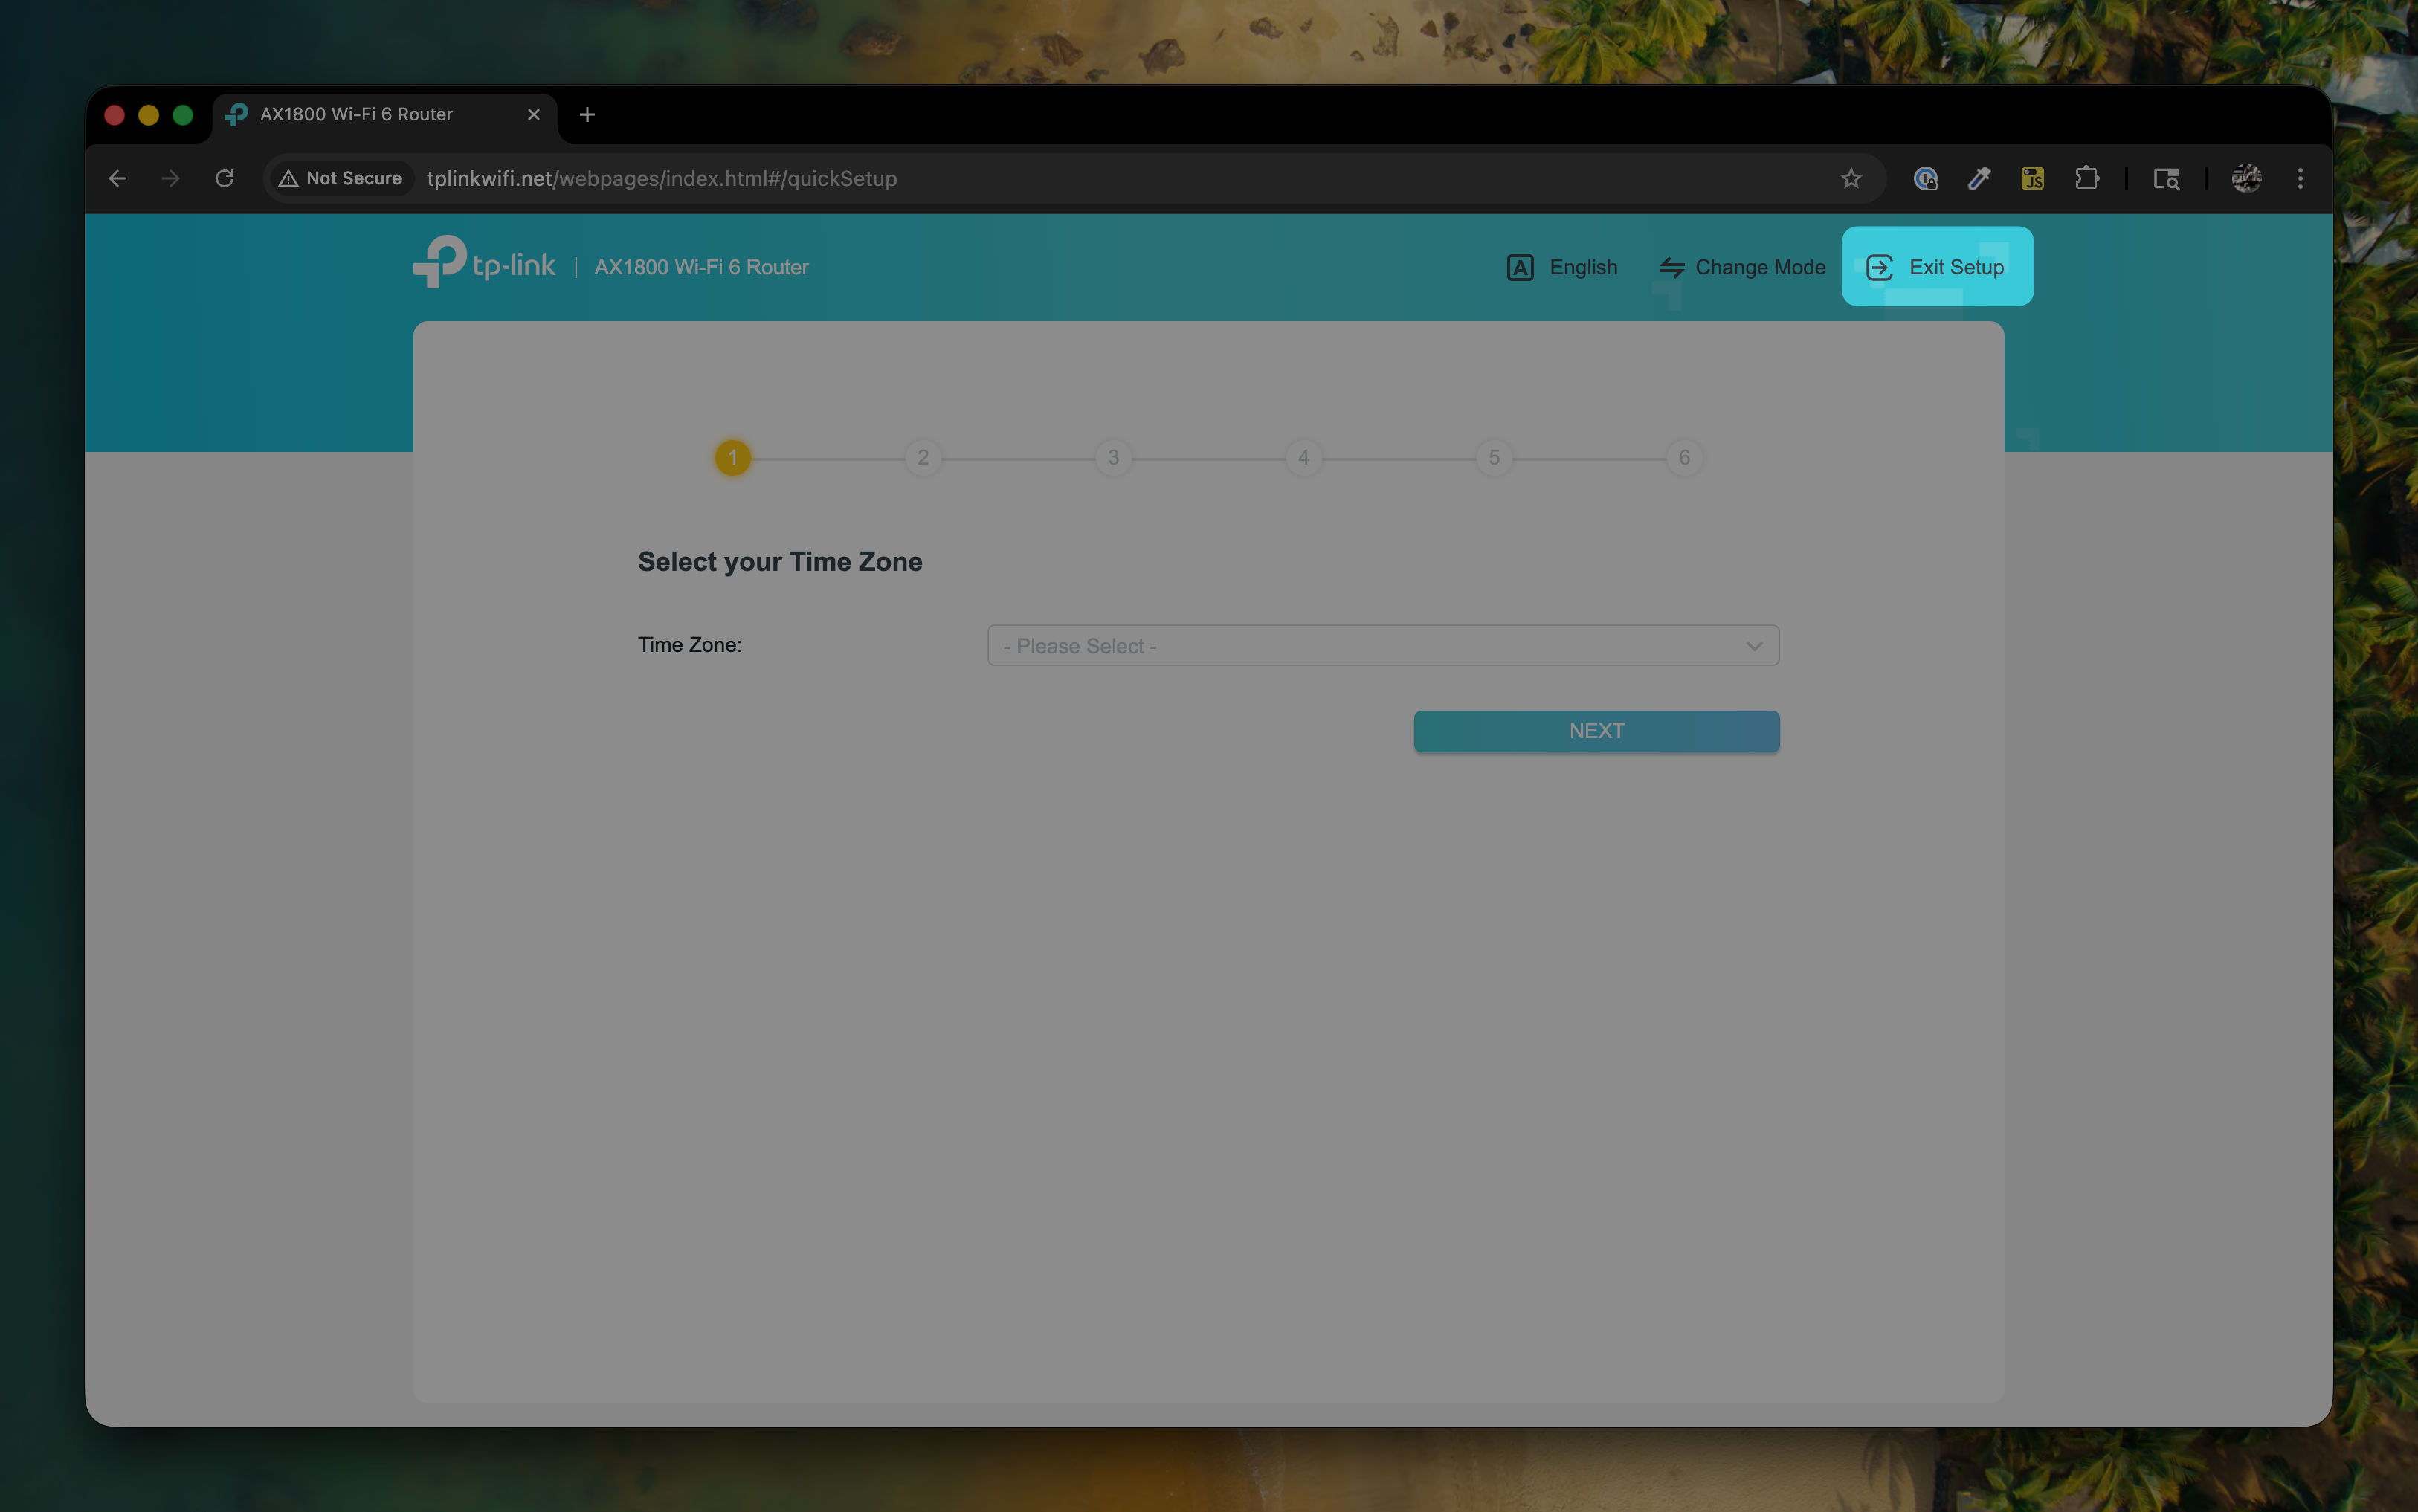
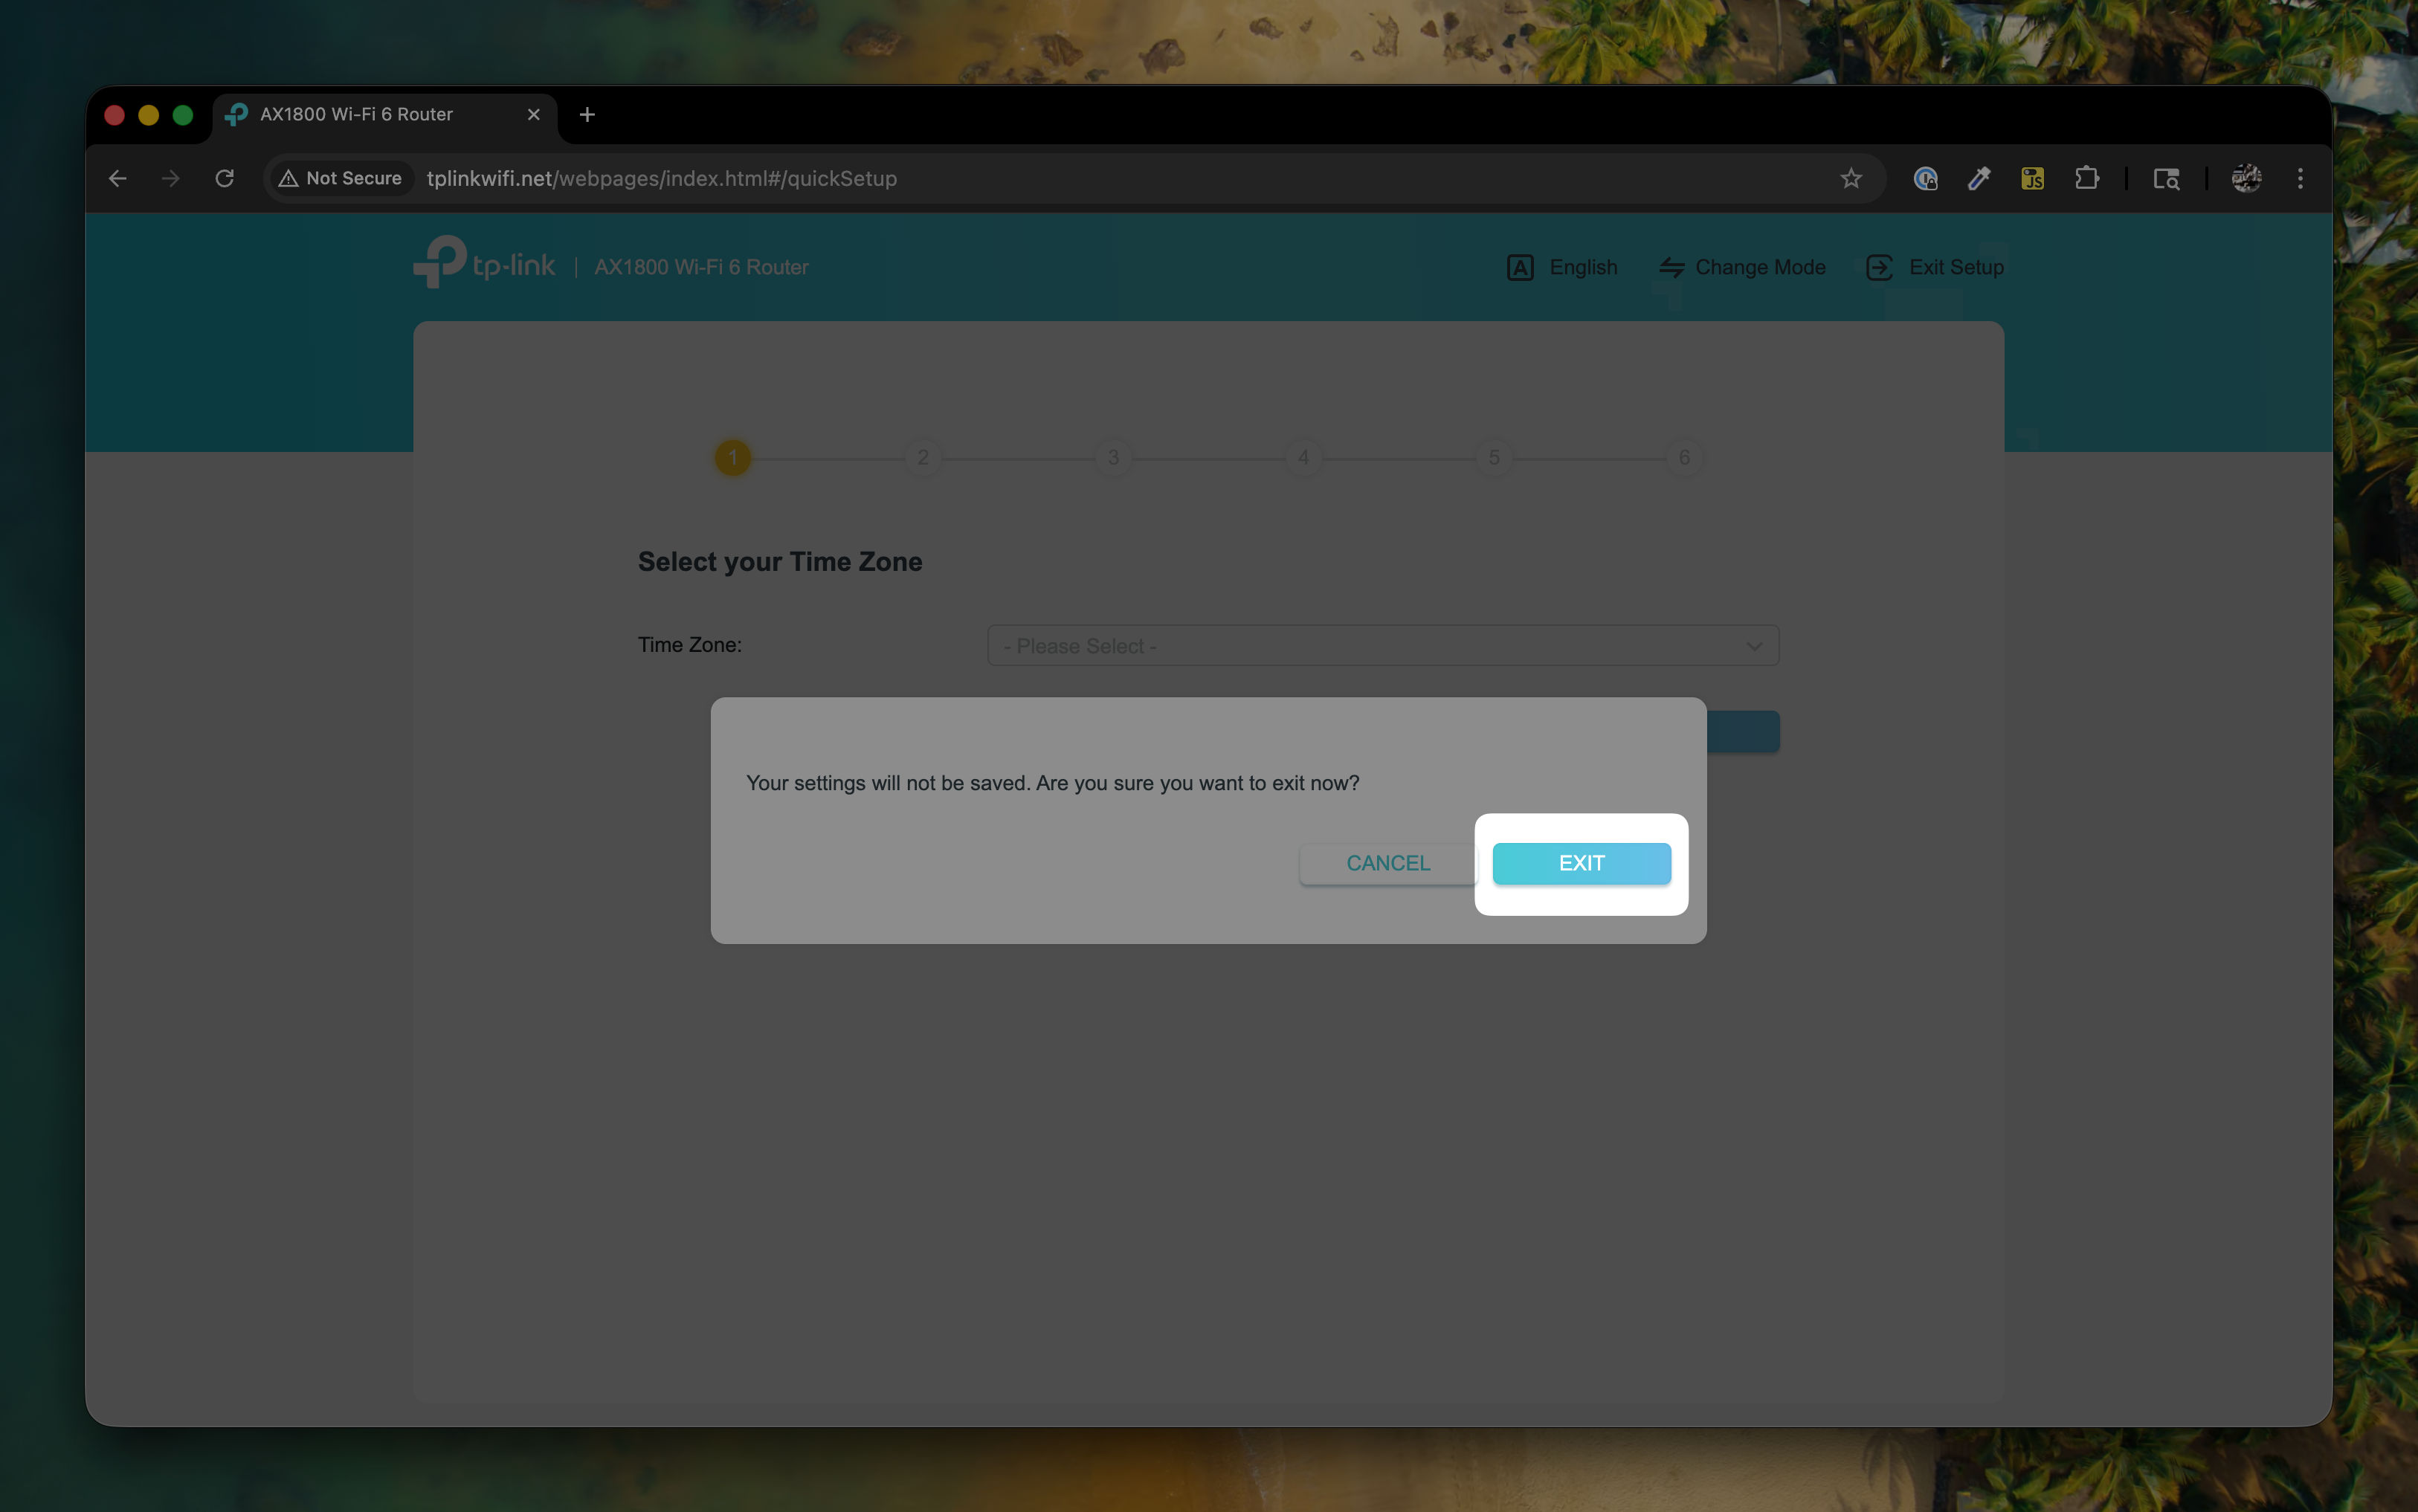
You will be redirected to the router setup wizard. Click on Exit Setup.
-
Click on Exit to confirm that you wish to exit the setup wizard.
-
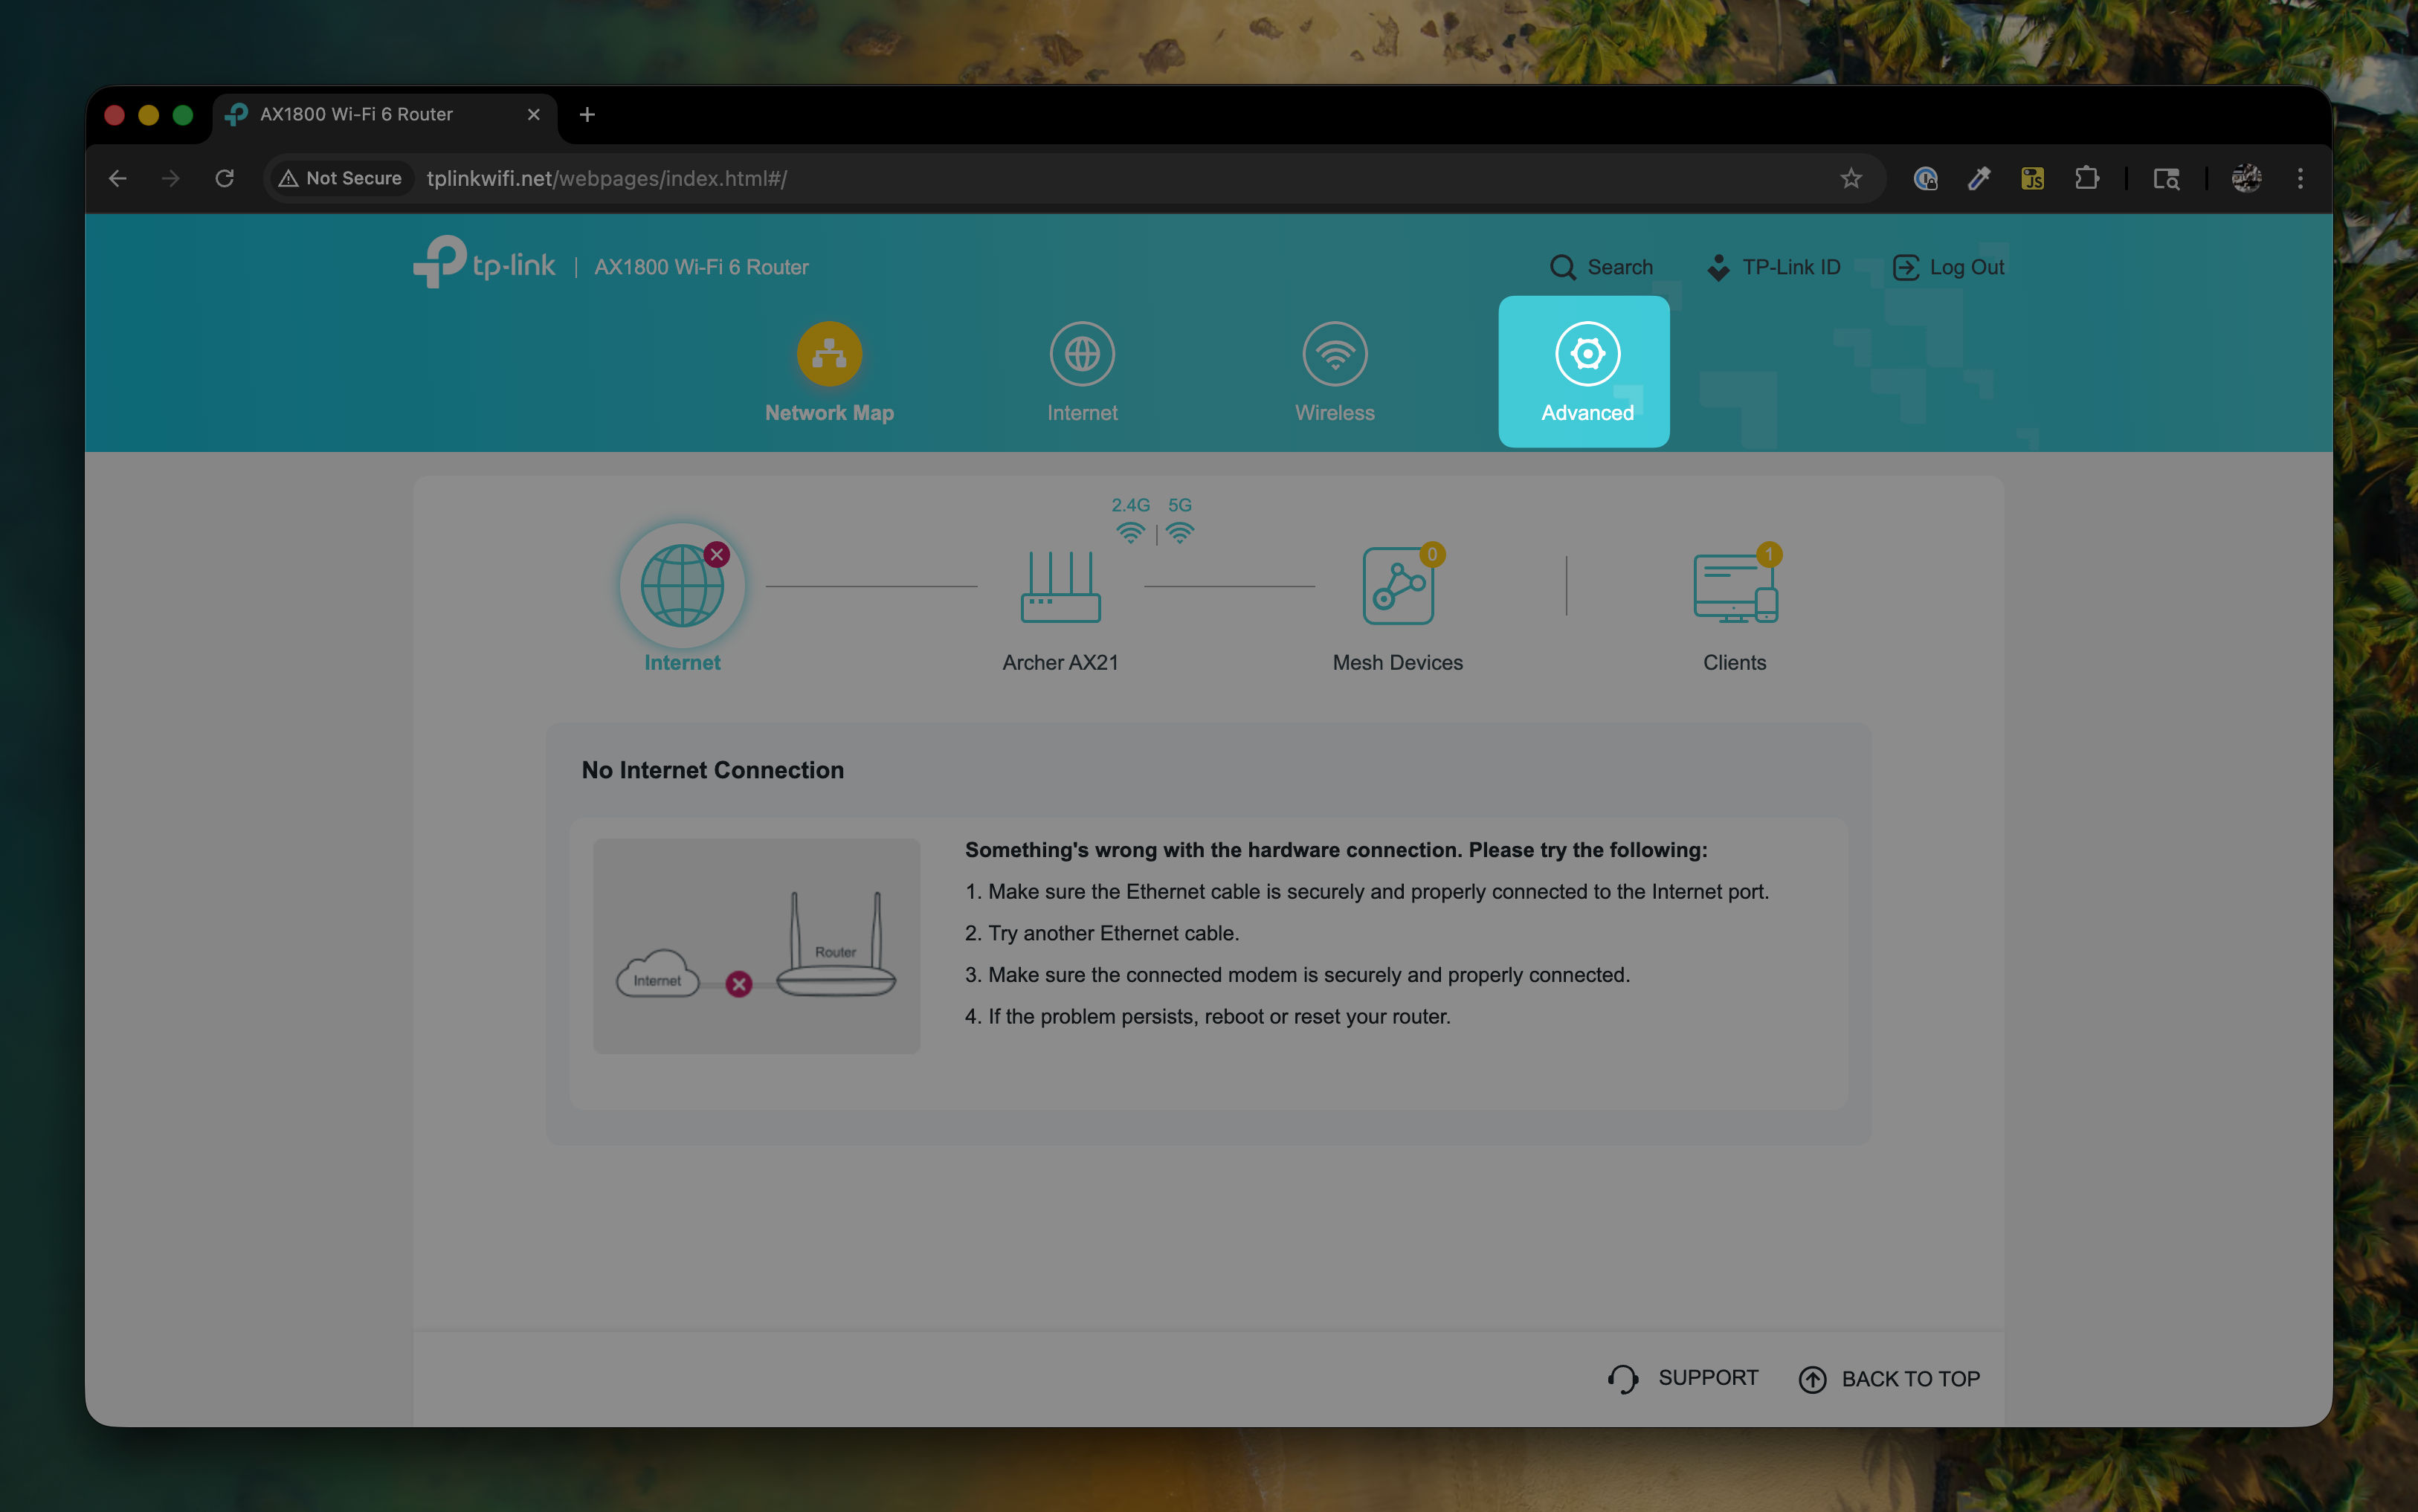
Click on the Advanced gear button in the top menu.
-
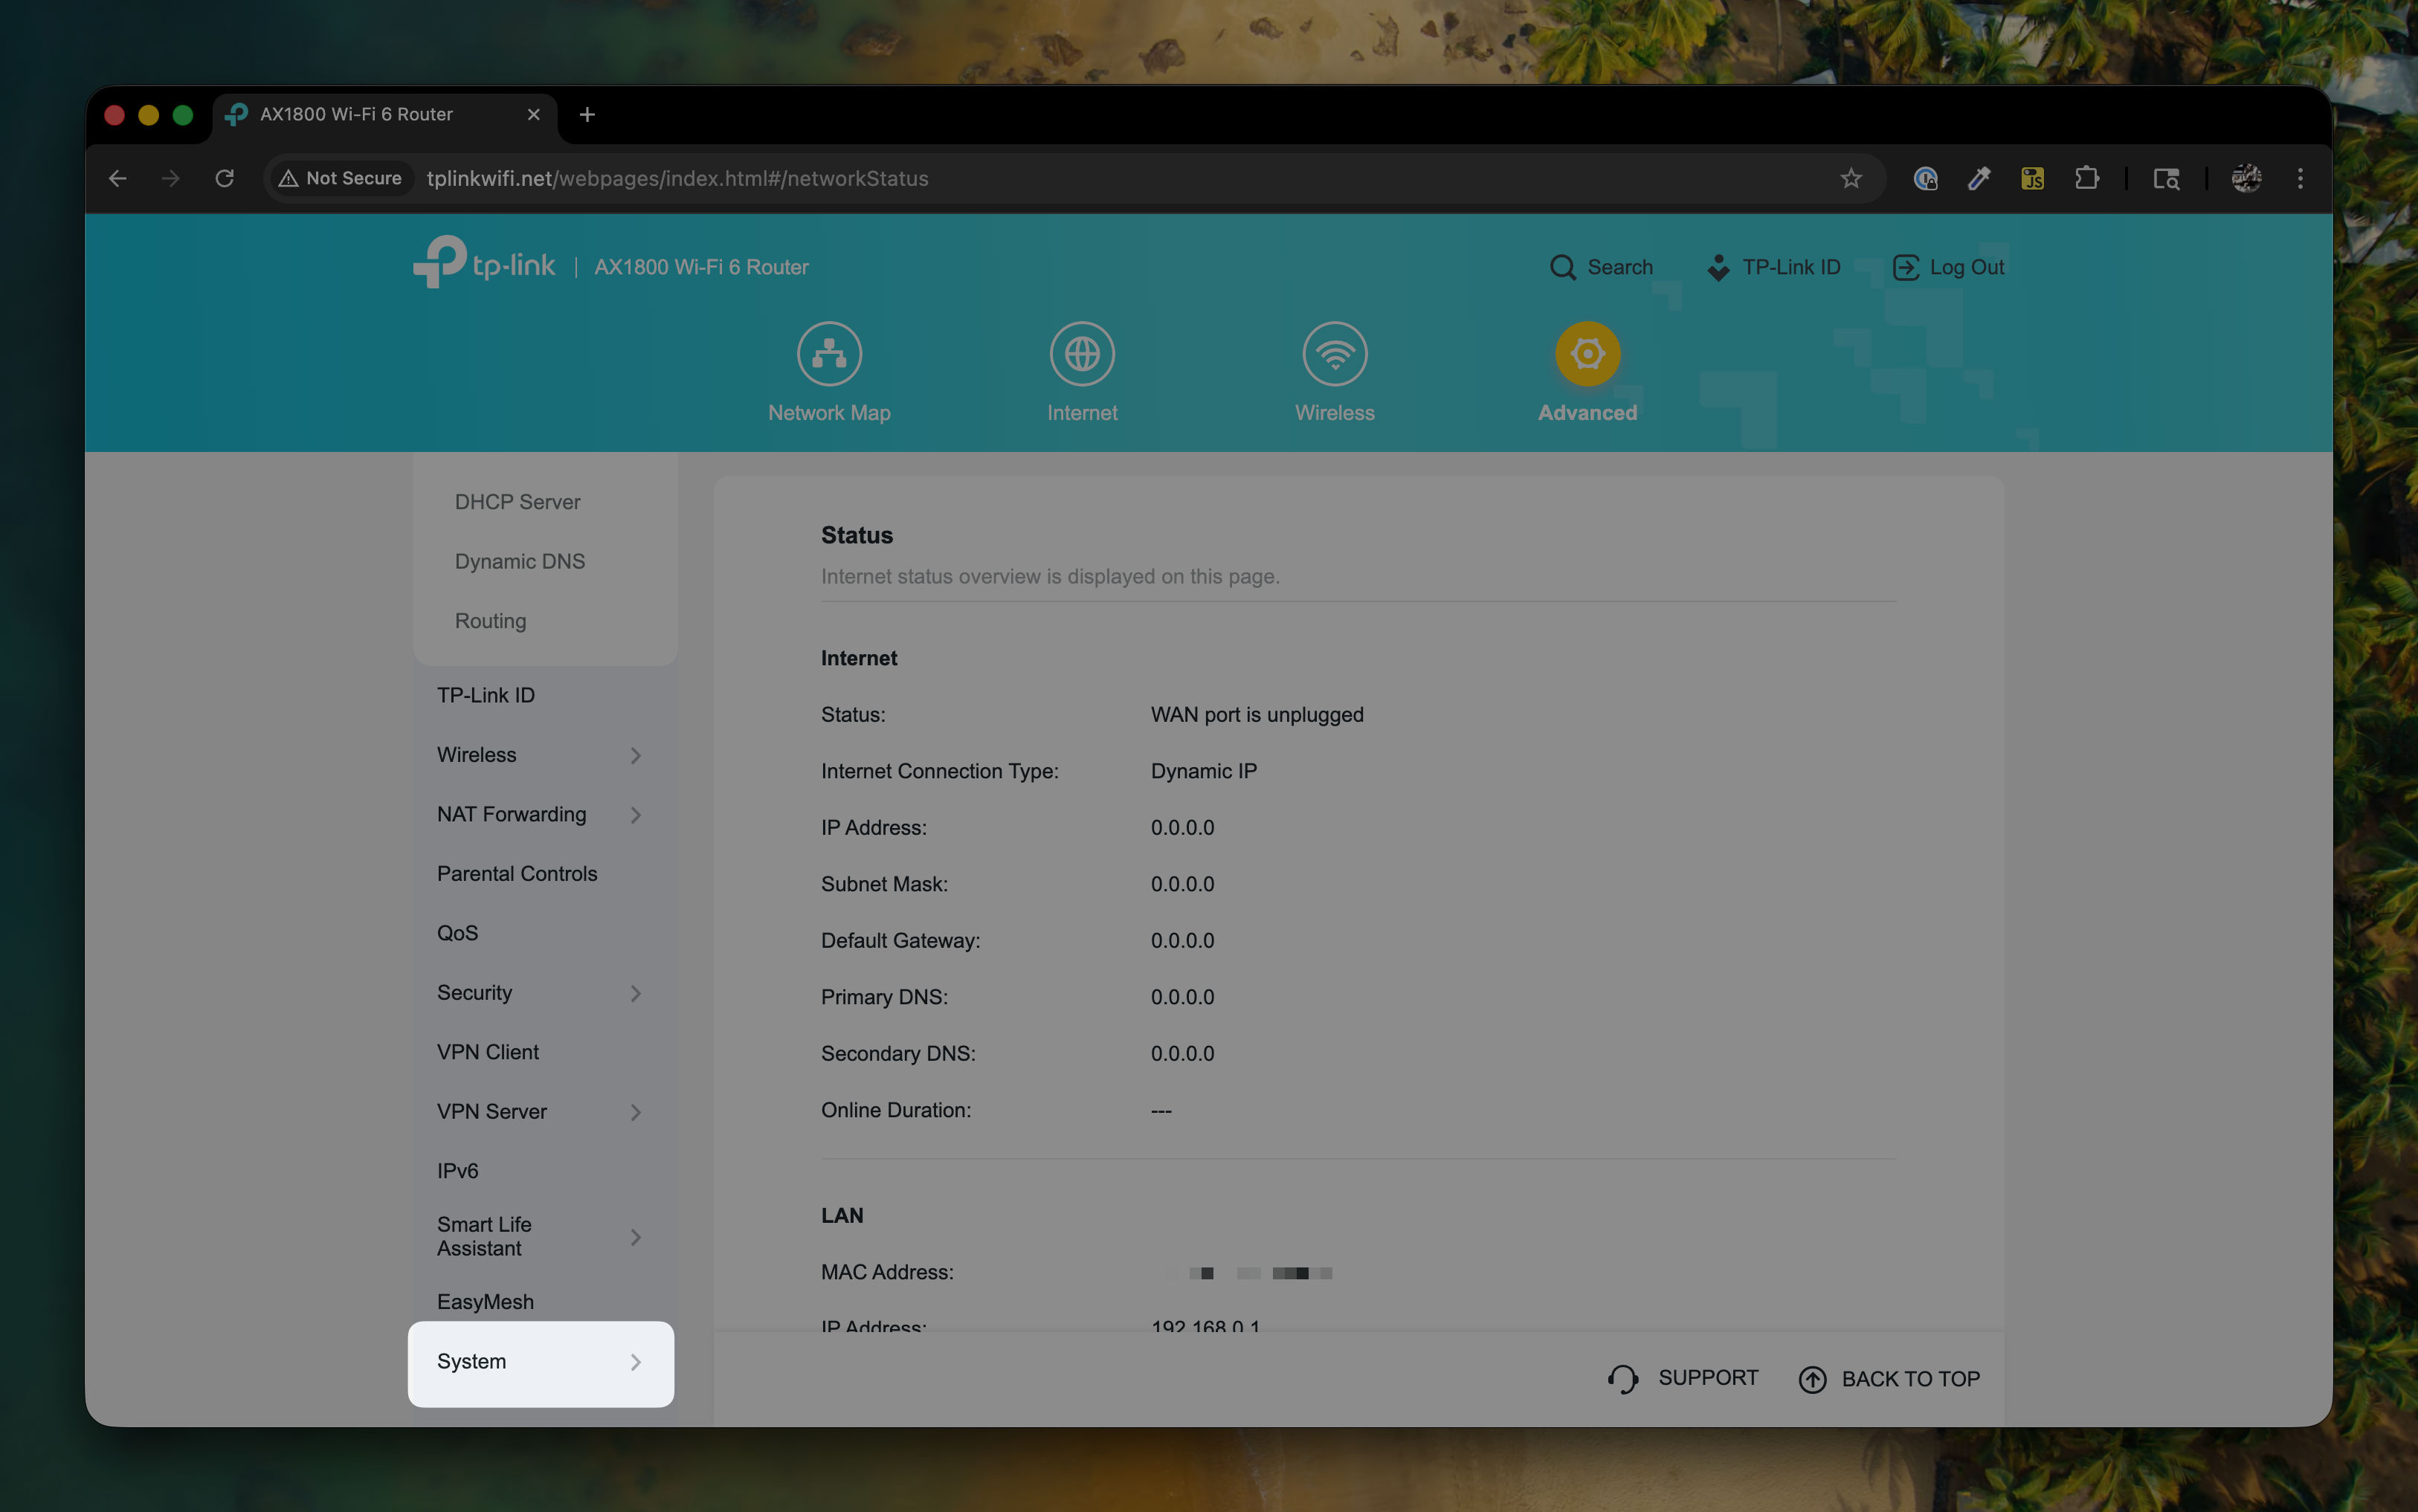
Click on System in the left menu.
-
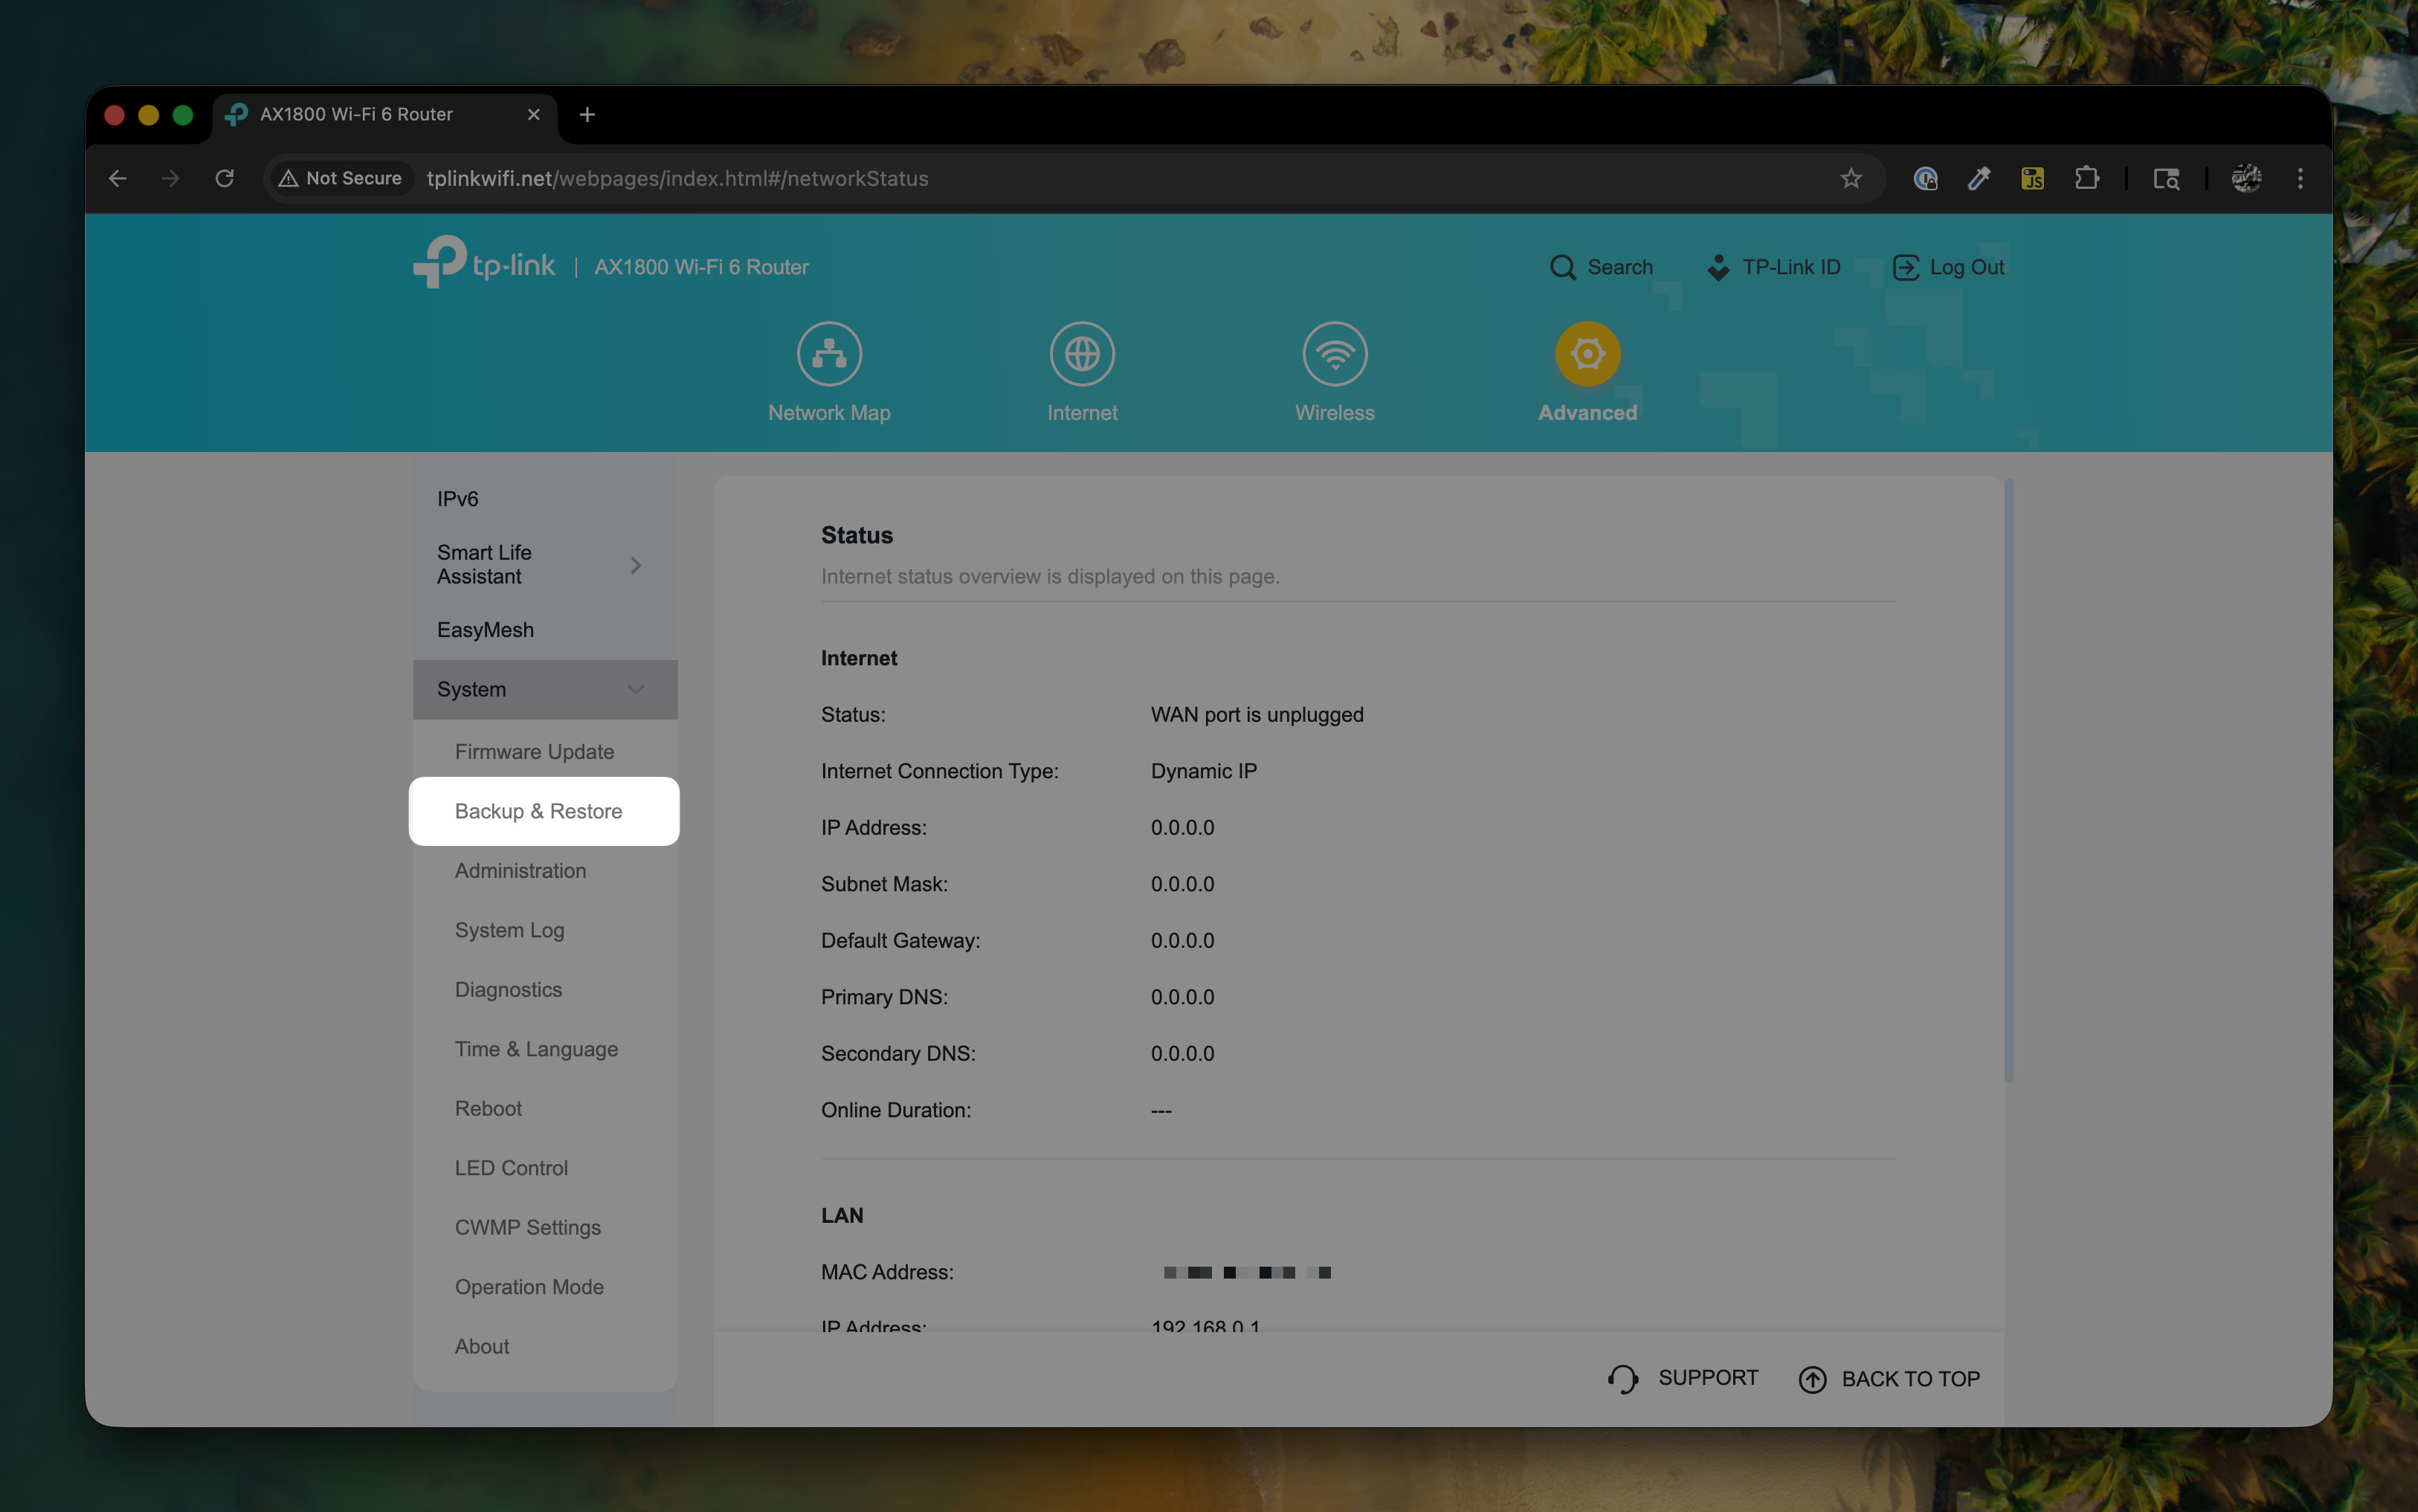
Click on Backup & Restore in the System sub-menu.
-
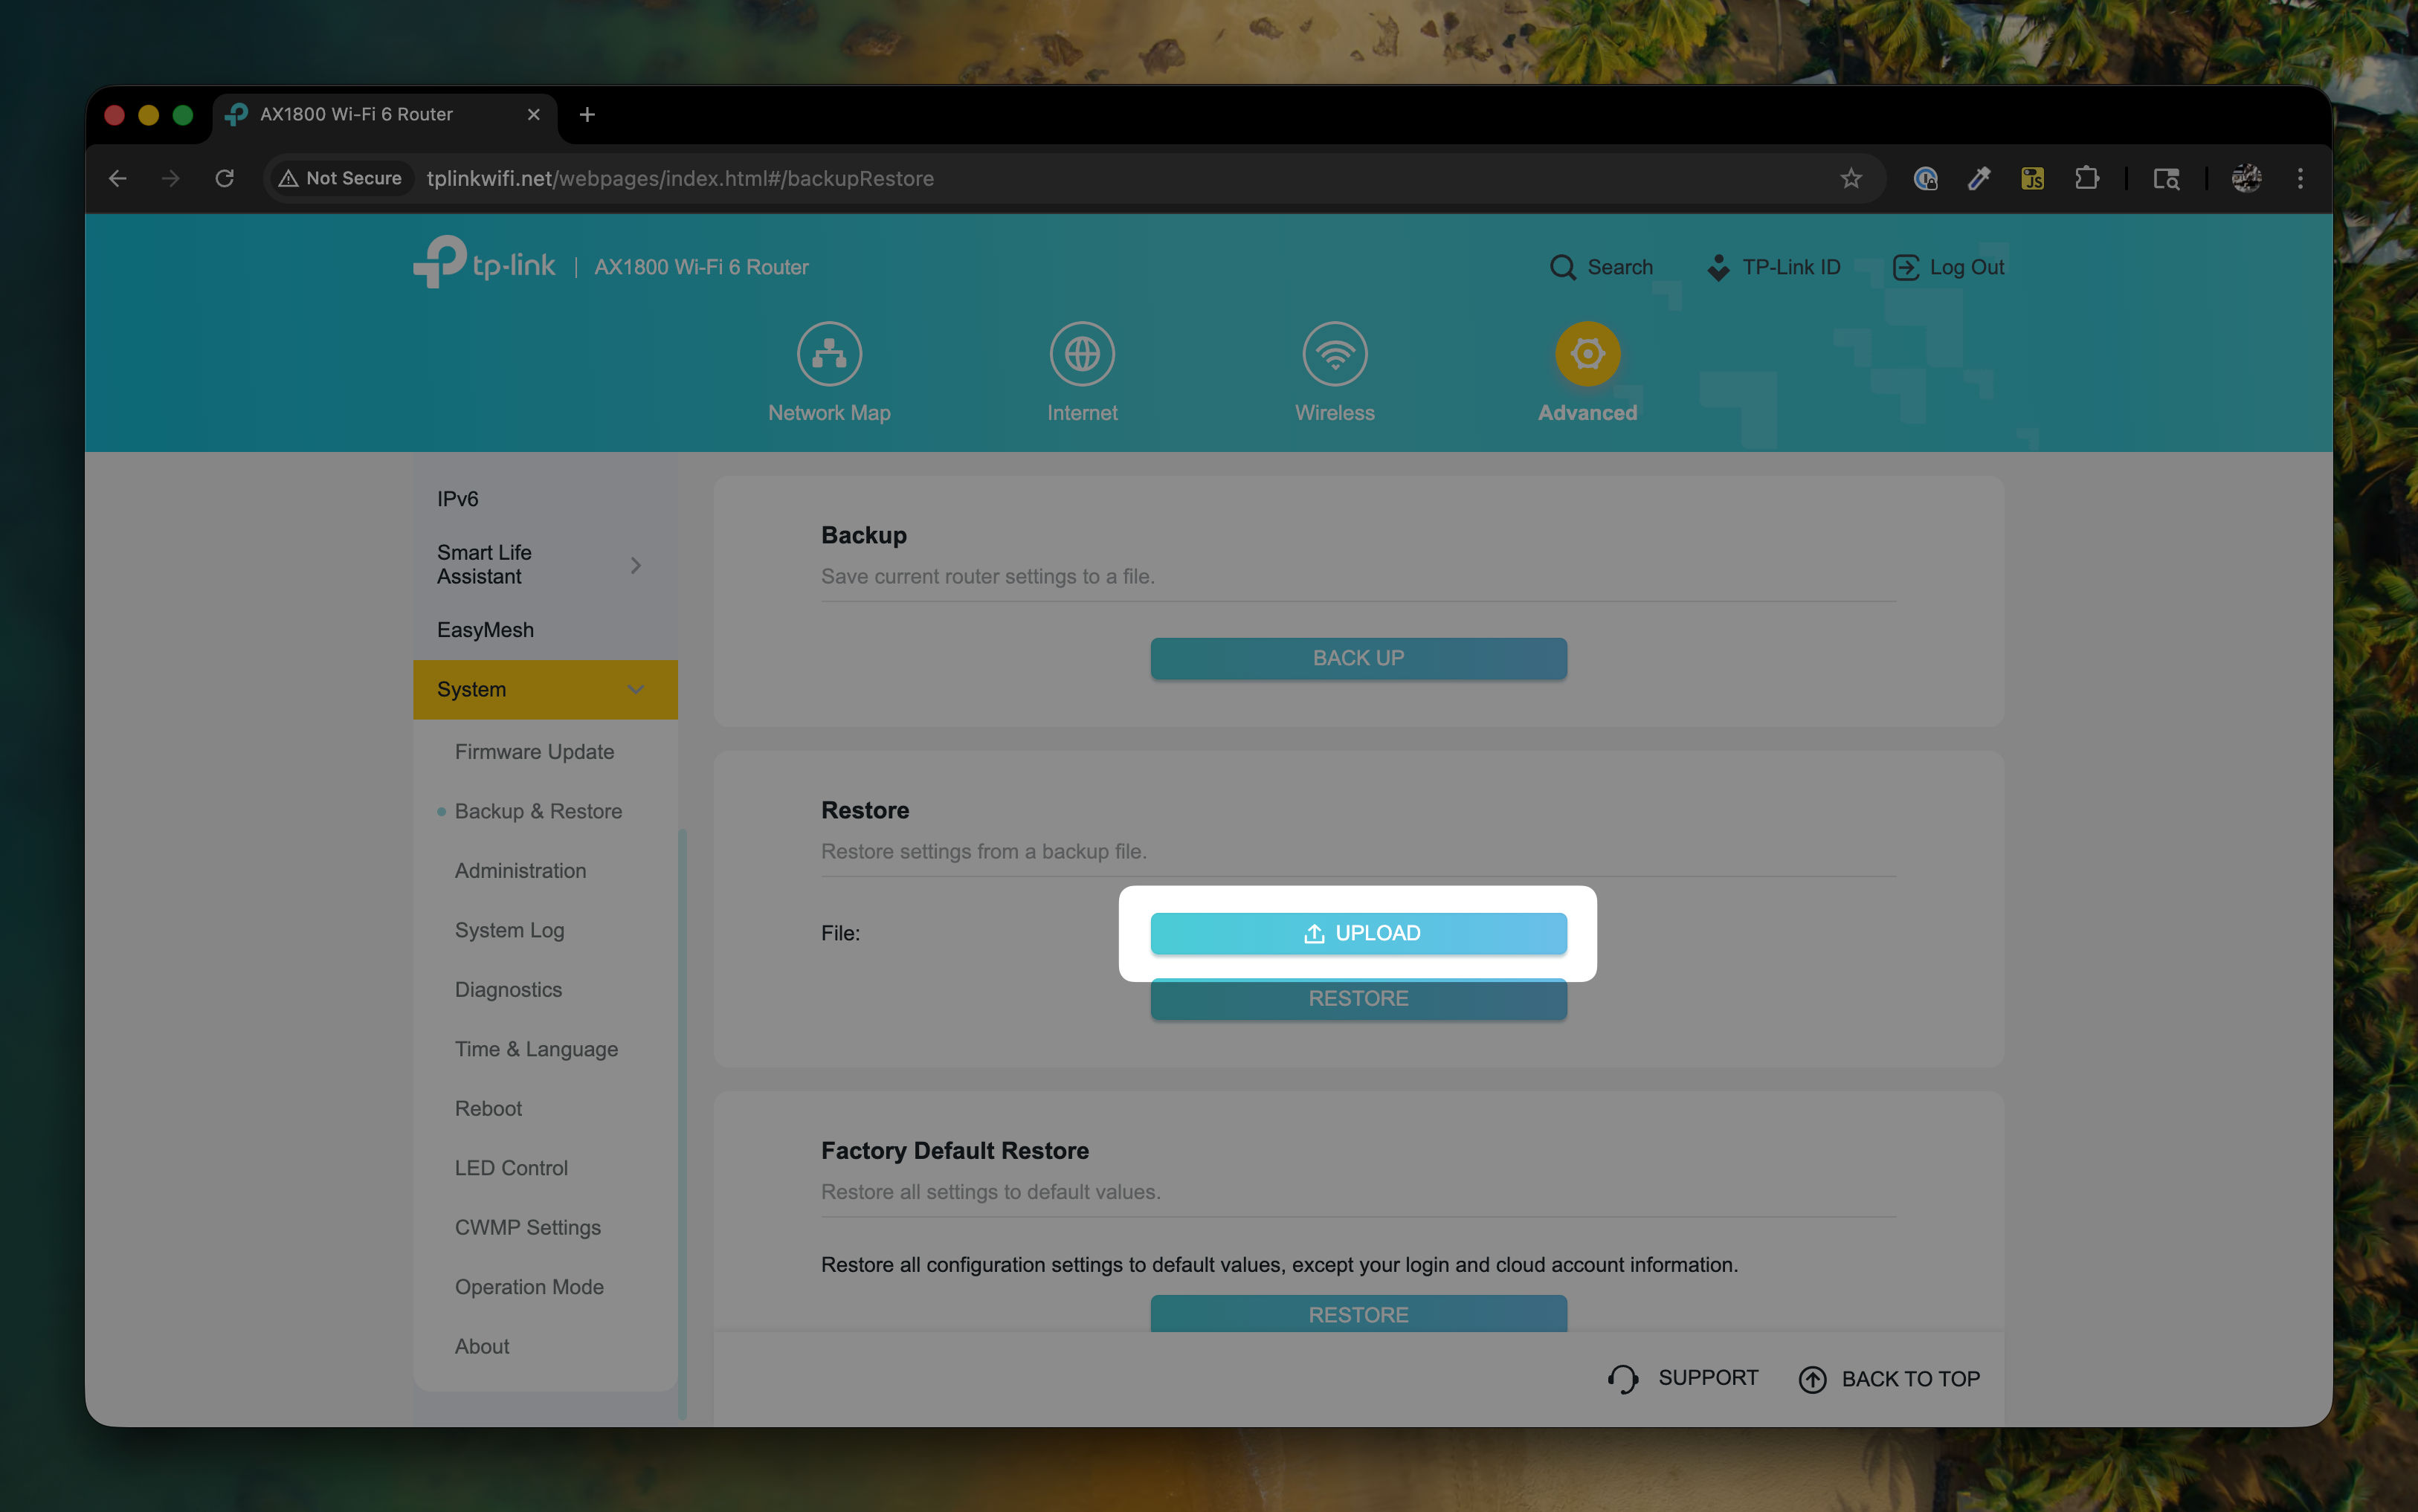
Under the Restore menu, click on Upload.
-
Navigate to the folder that indicates the mode you want the router to operate in (for example,
LX-net), and select the.binfile located in that folder.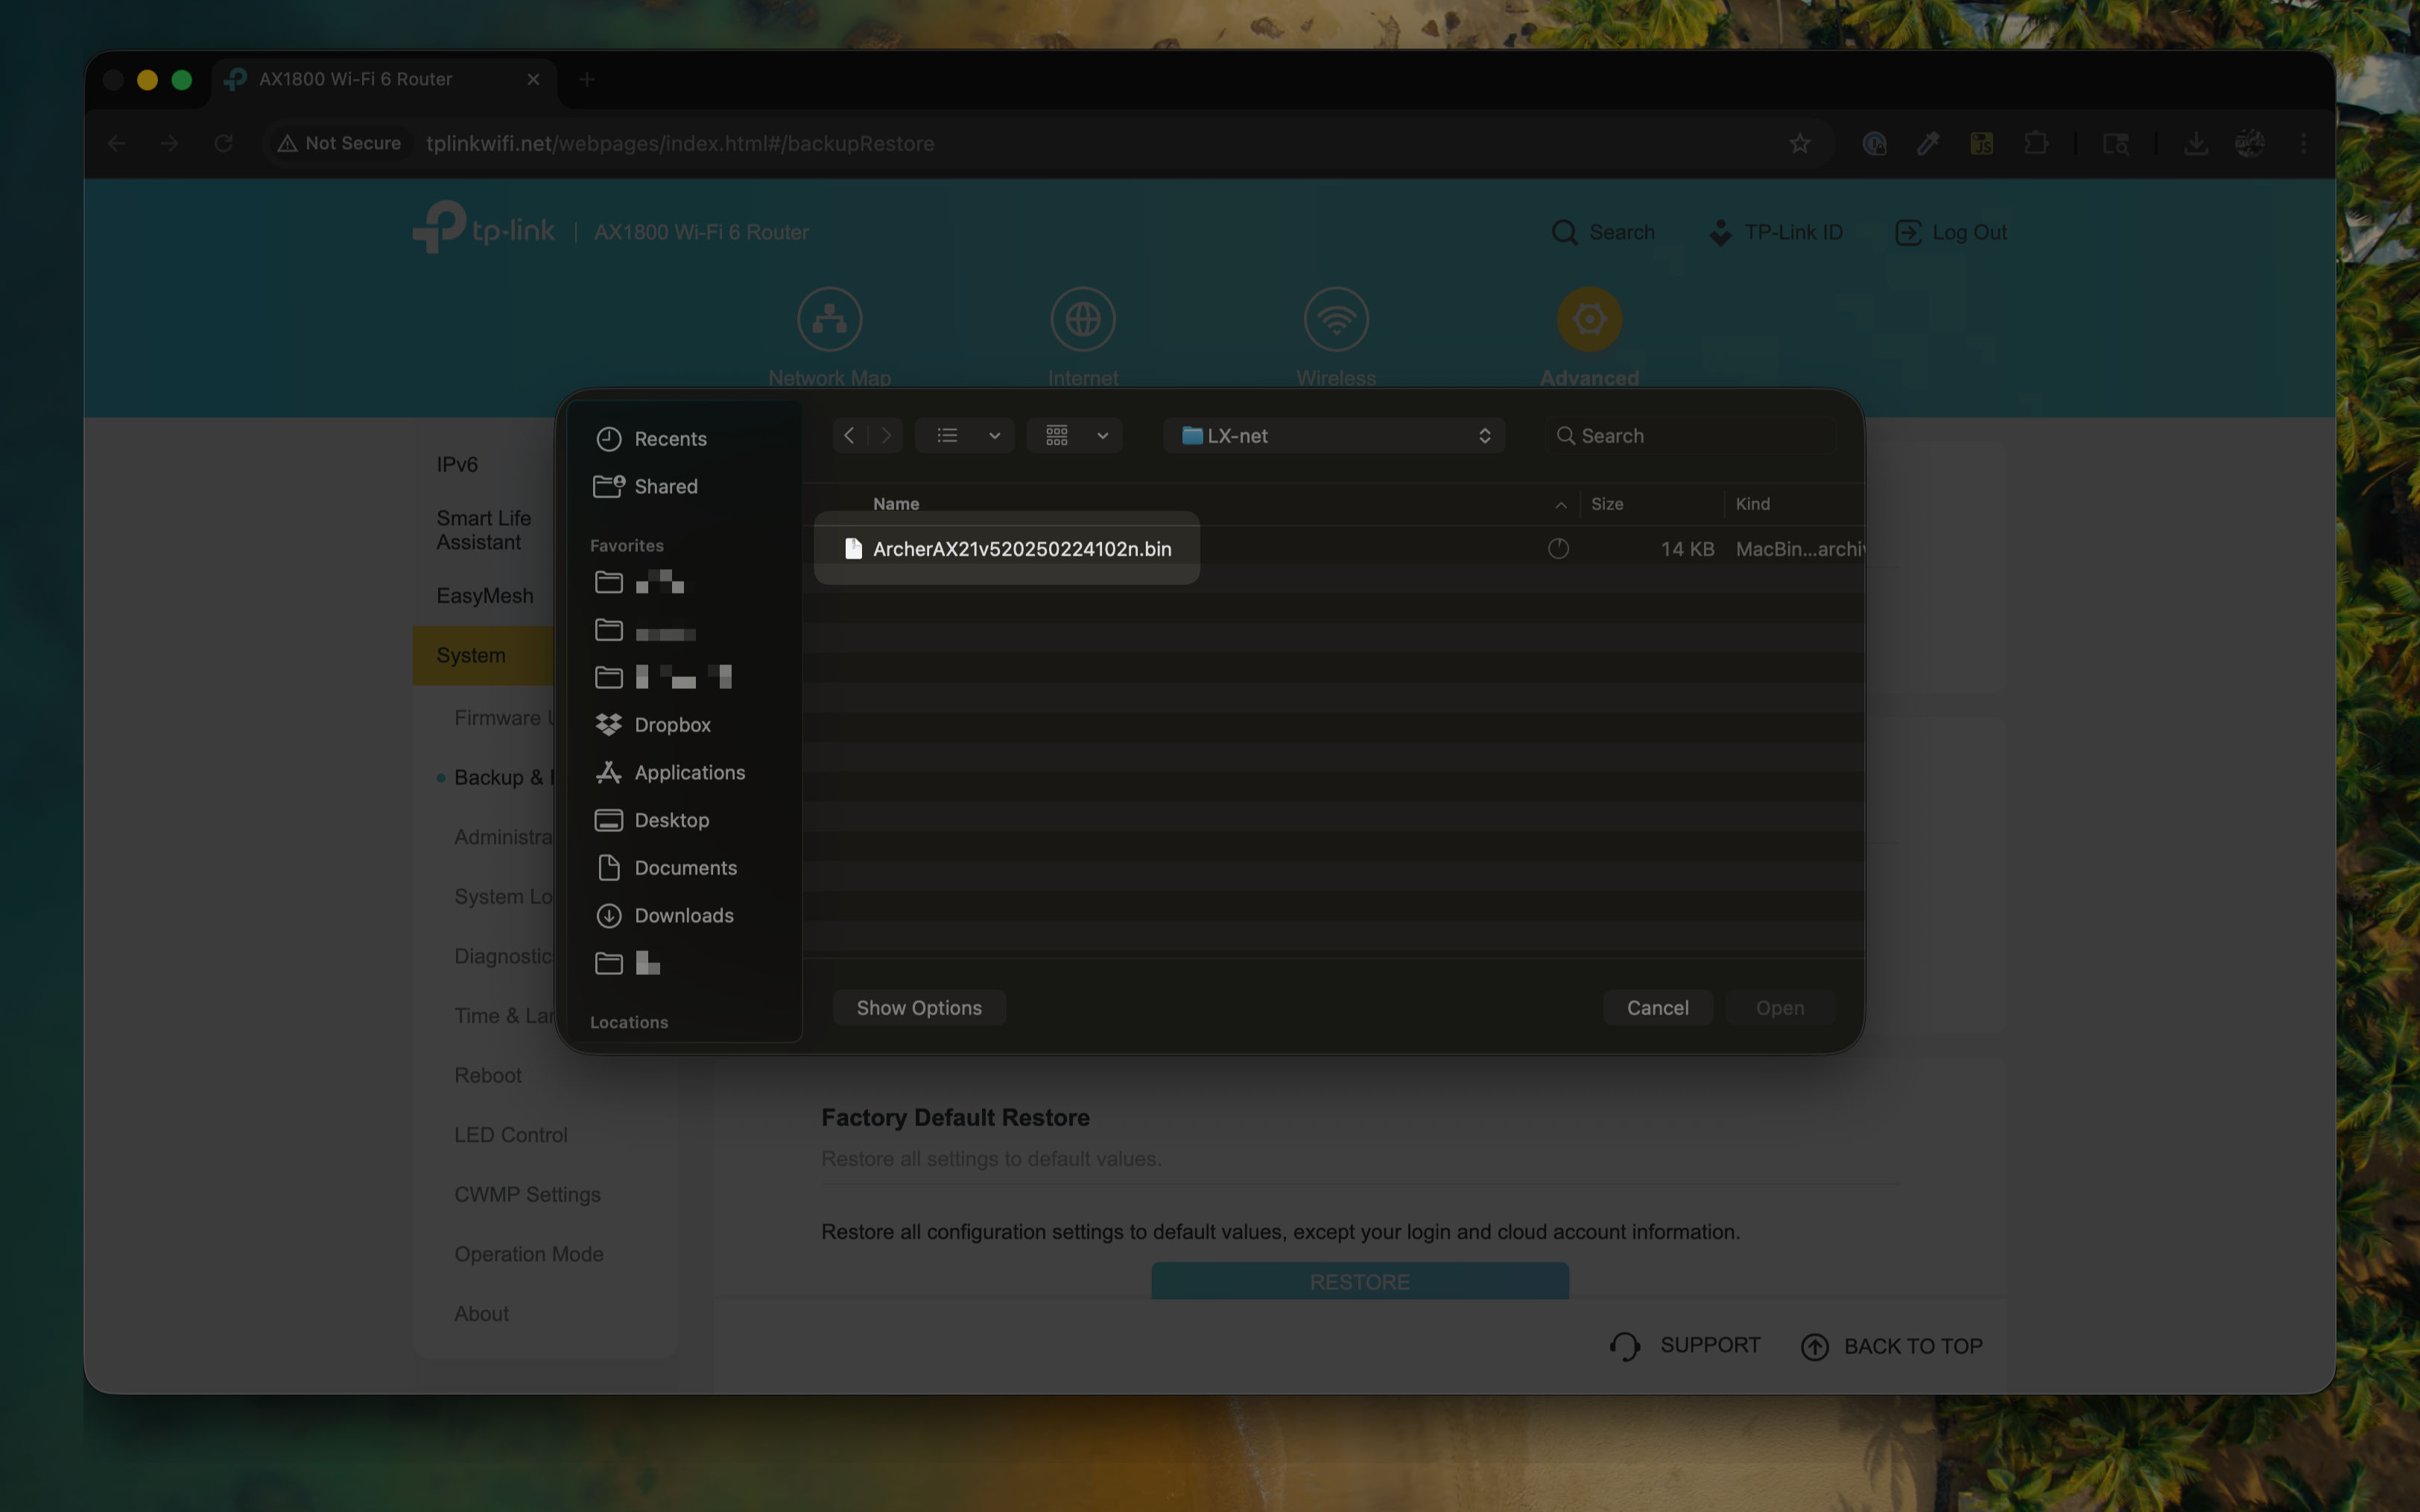
-
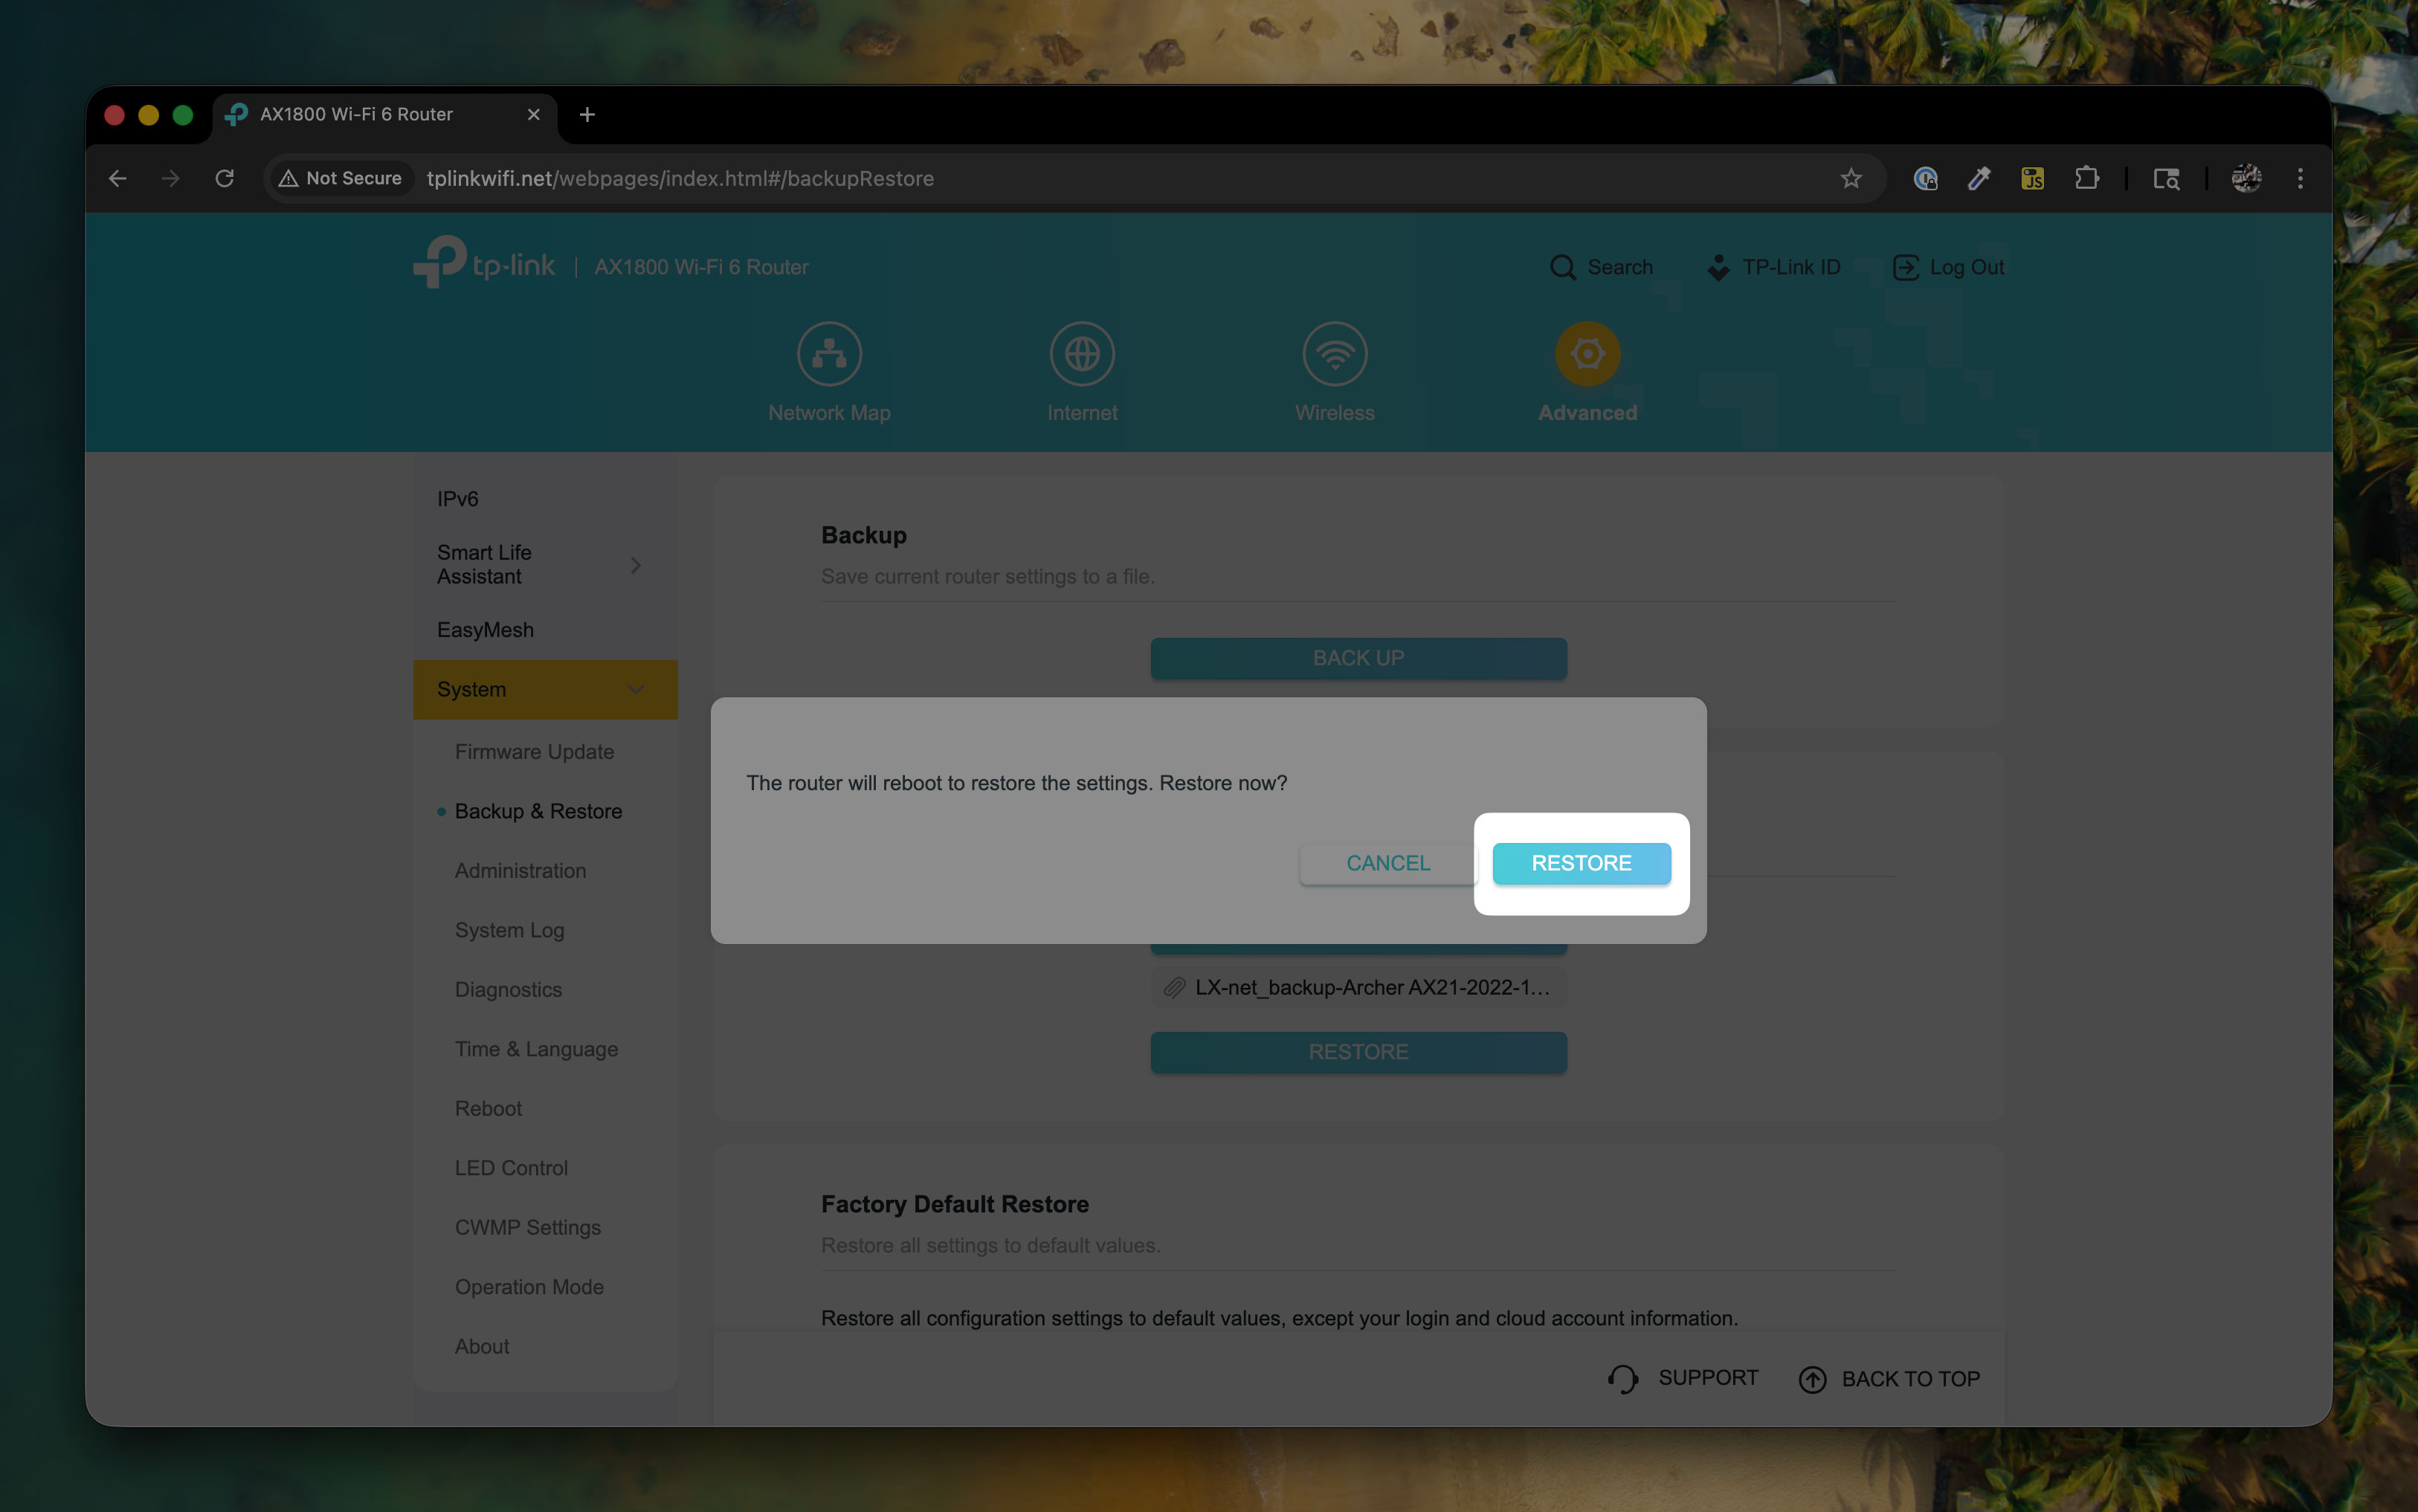
Choose Restore to confirm that you want to restore this file.
-
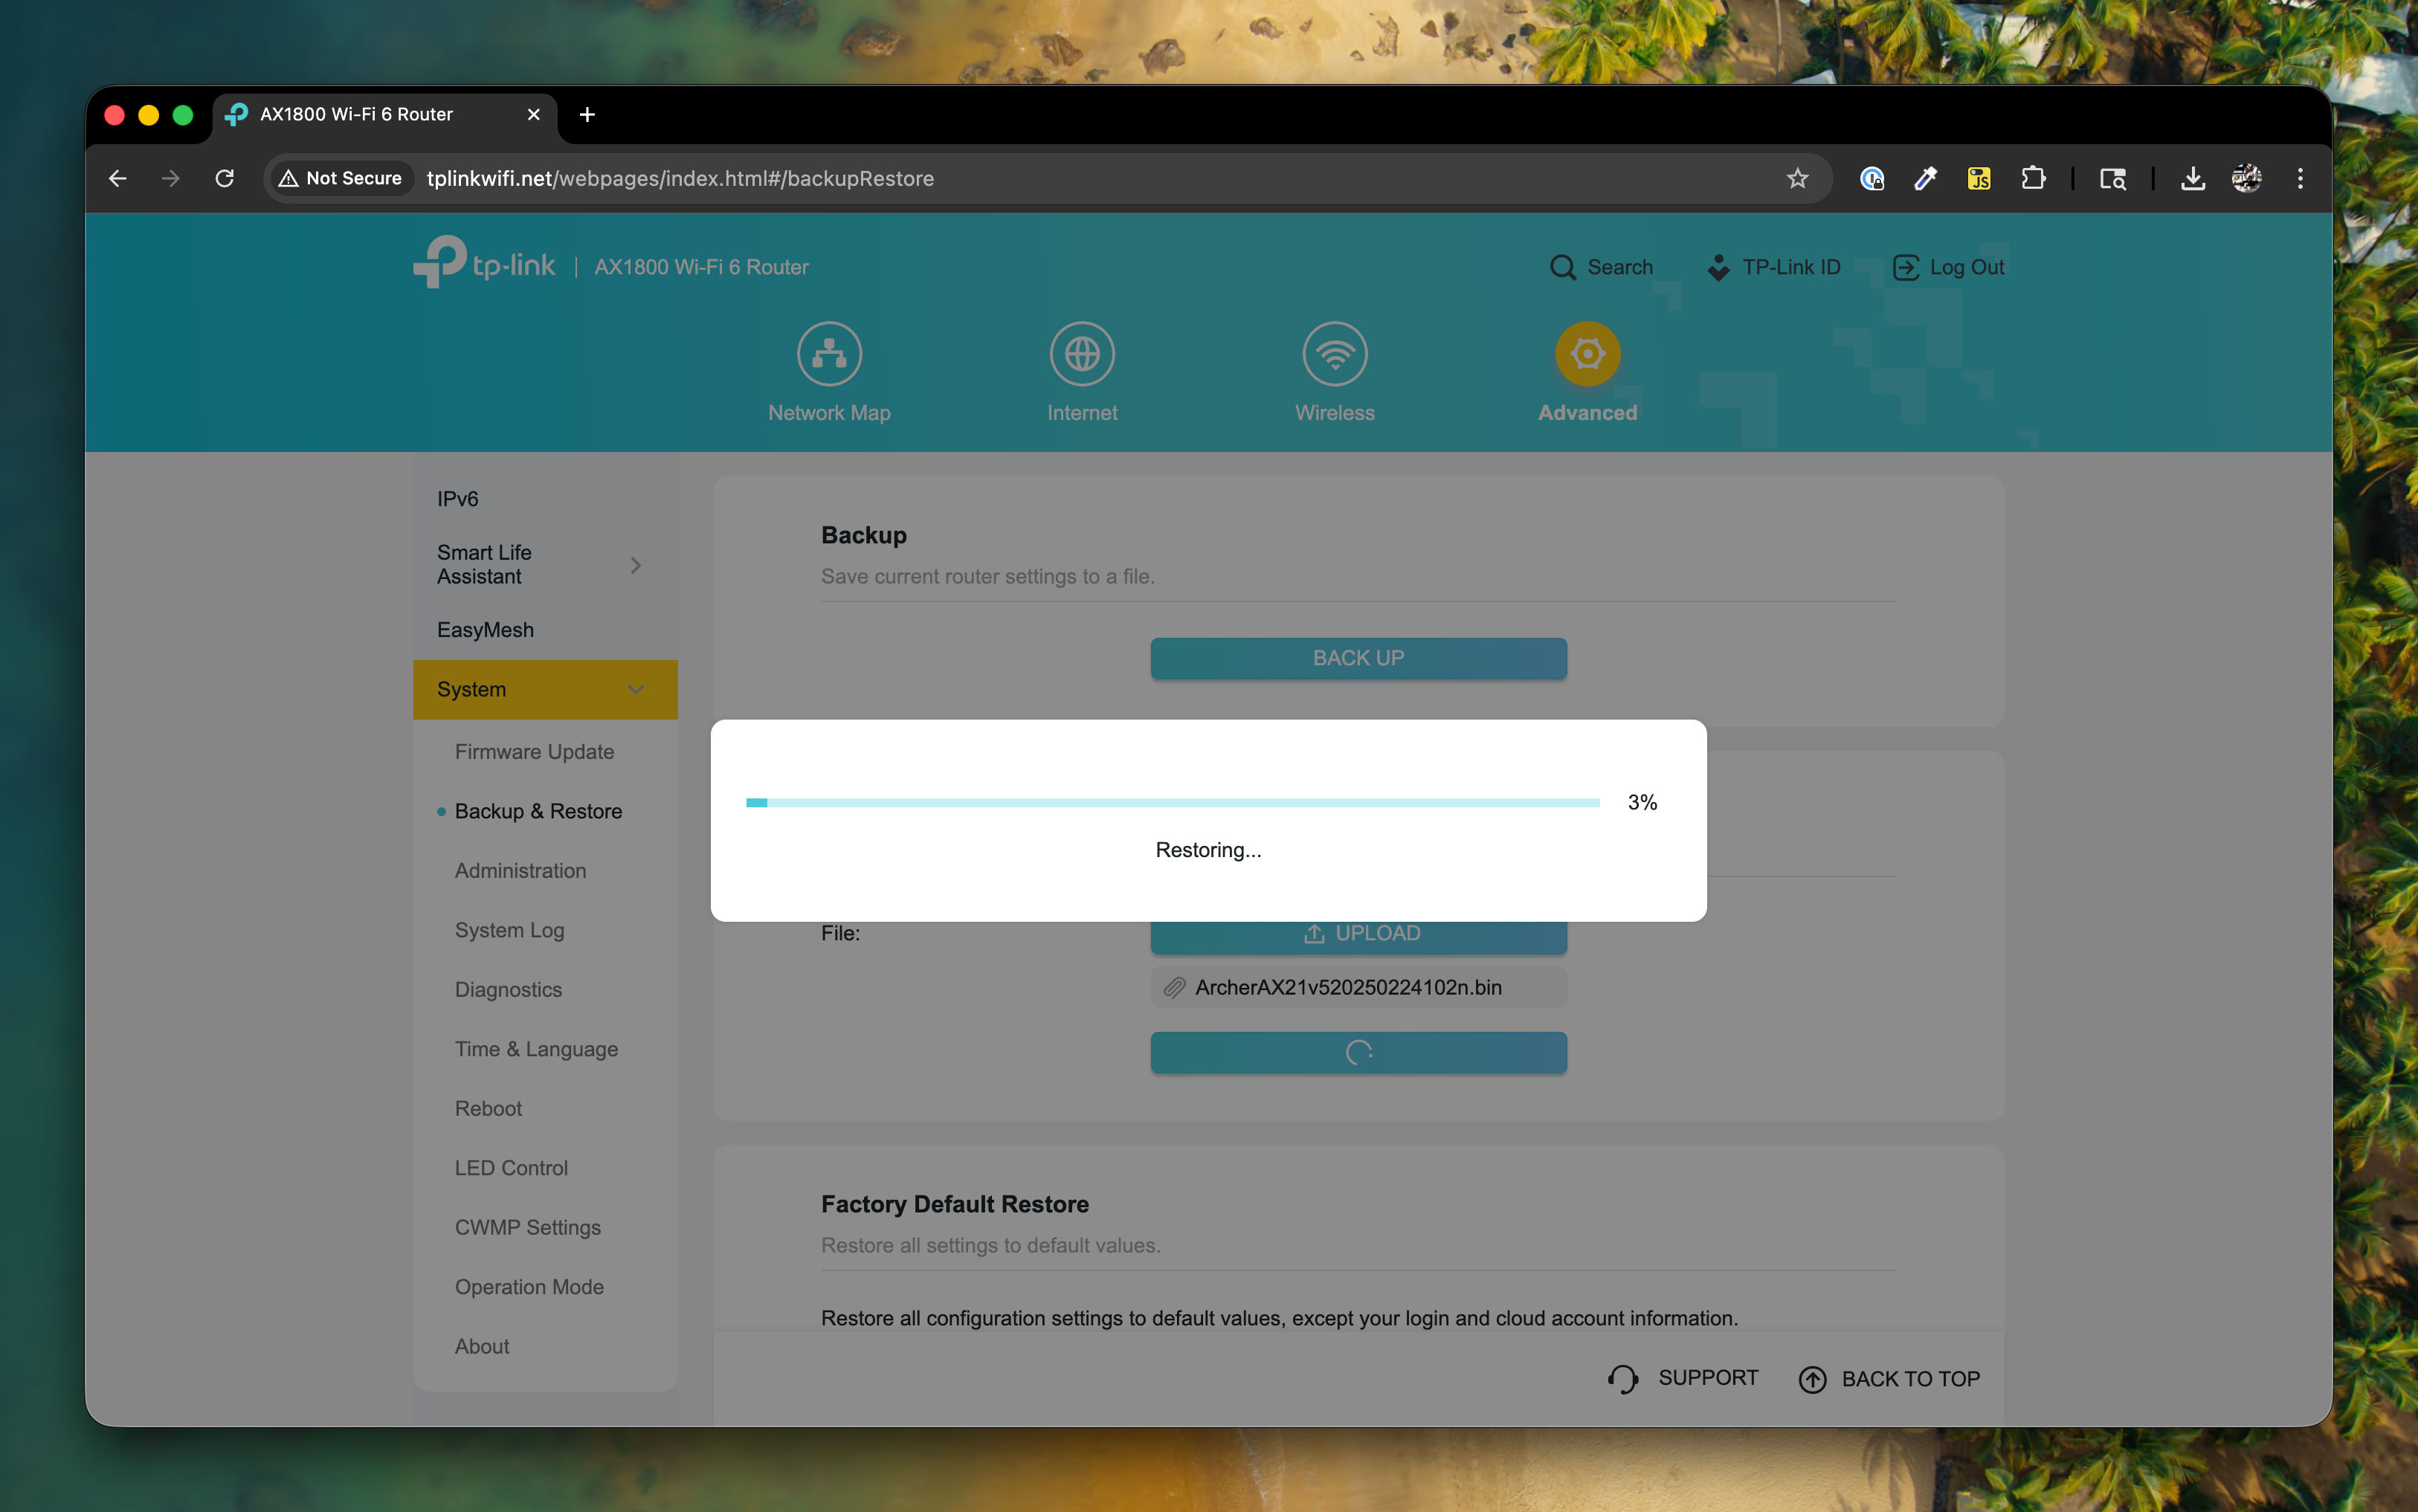
The router will restore this file. This may take up to 15 minutes.
-
Once the restore is completed, you will be redirected to the updated login page. (Note that the temporary
tempadmin1password that you set will not work on this page, as the password is changed as part of the config restore process.)